
This post will look at how we can install the apache tomcat server on mac and window using some very simple steps.
Let’s look at them one by one.
Installing Apache Tomcat on Mac
- Go to https://tomcat.apache.org/download-80.cgi.
- Click on the zip link to download the compressed file.

- Uncompress the downloaded file and move it to any convenient location.
- Go to the apache tomcat folder.
- There, you will see a bunch of folders.

- Make the scripts in the bin subfolder executable by running the command: chmod +x bin/*.sh
- Launch Tomcat using the catalina.sh script. Use command bin/catalina.sh run
- Tomcat runs on the 8080 port by default. Go to http://localhost:8080/ to check whether it’s working.
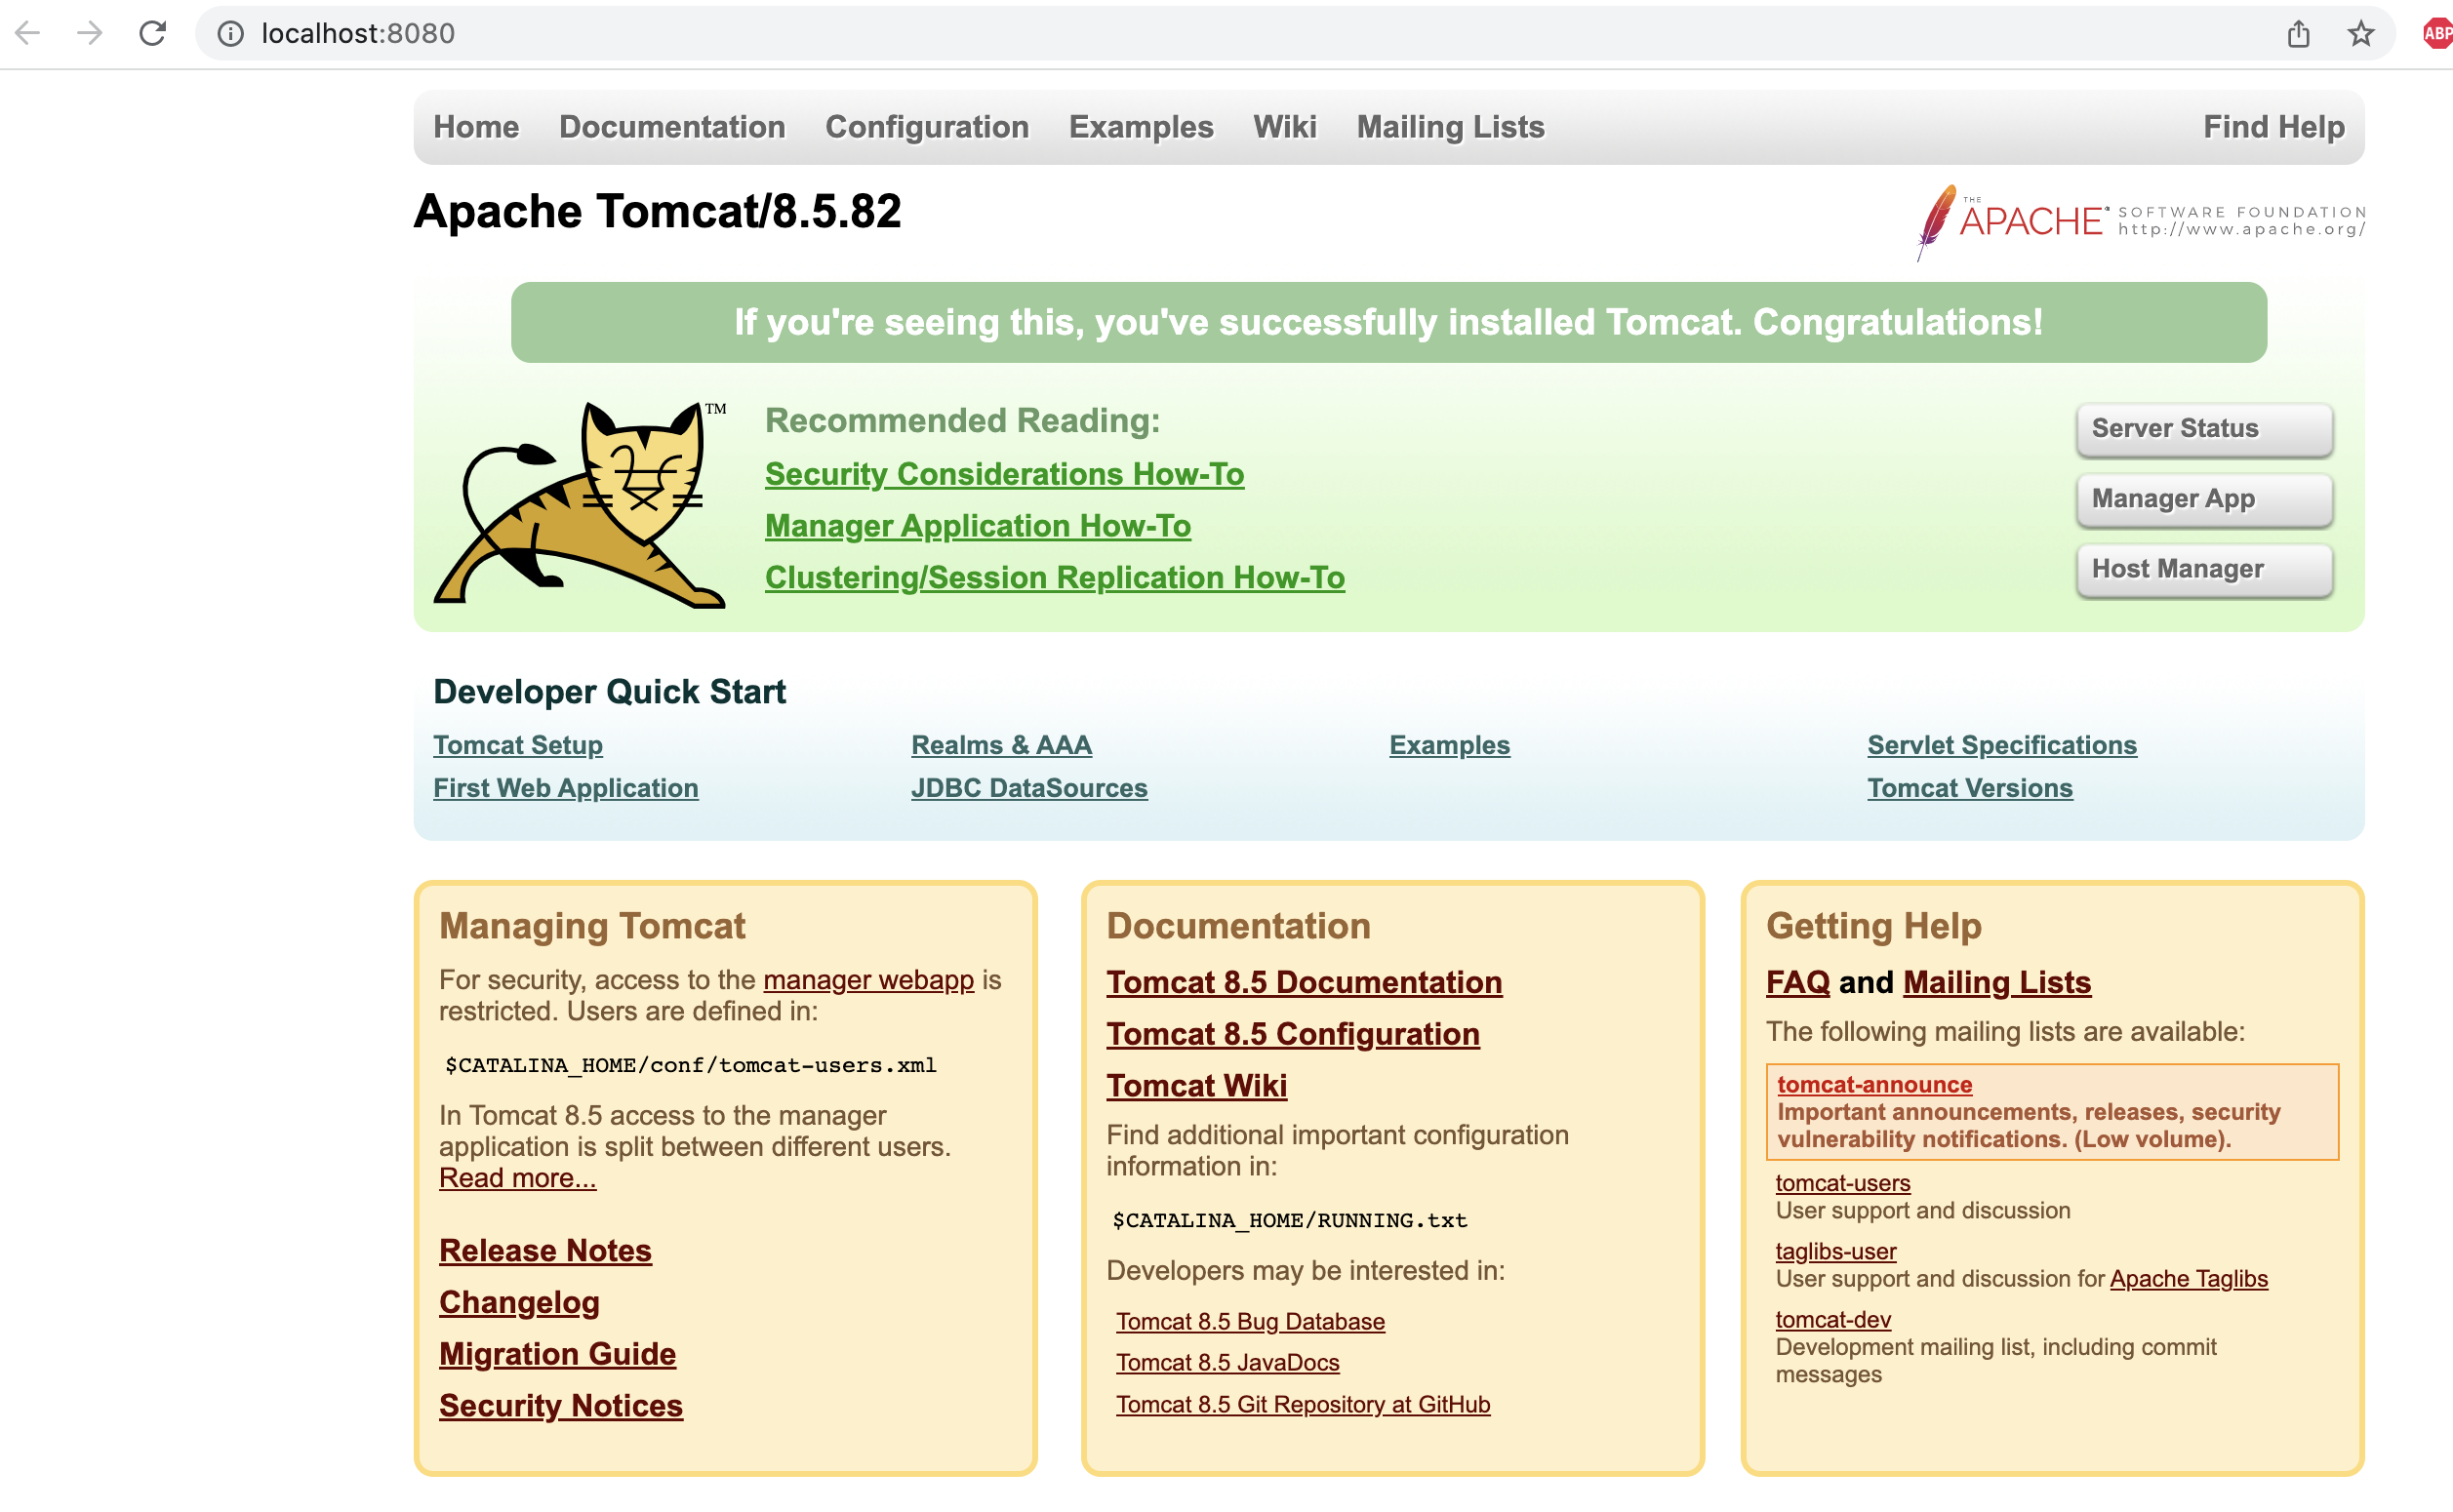
You should see the below page.
Installing Apache Tomcat on Windows
- Go to https://tomcat.apache.org/download-80.cgi
- Click on 32-bit/64-bit Windows Service Installer

- Launch and complete the installation.
- Tomcat runs on the 8080 port by default. Go to http://localhost:8080/ to check whether it’s working.
We hope that you will be able to run the apache tomcat server on your machine now. If you have any doubts or concerns, please feel free to write us in the comments or mail us at admin@codekru.com.