
There are times when you need to run performance tests with varying input data – that’s where data-driven testing in JMeter comes in handy. Instead of creating separate tests for each data set, you can use a CSV file to manage all your input values. JMeter allows you to read data from a CSV file and run tests dynamically with different parameters. This approach makes your tests more flexible and scalable. In this post, we’ll walk through how to read data from a CSV file in JMeter.
Note: We have also attached a video at the end of this article. In case you are more comfortable with the video version, please feel free to have a look
Let’s create a simple test where we will execute the “https://jsonplaceholder.typicode.com/posts/1” API, and later, we will parameterize the postID ( https://jsonplaceholder.typicode.com/posts/${postID} ) to fetch the details of various posts.
We will divide our article into the following points –
- Executing the API
- Parameterize the PostID using the CSV file
- and Dig Deeper into the “CSV Data Set Config”
Let’s look at the above points one by one.
Executing the API
Set Up a Test Plan
- Launch JMeter.
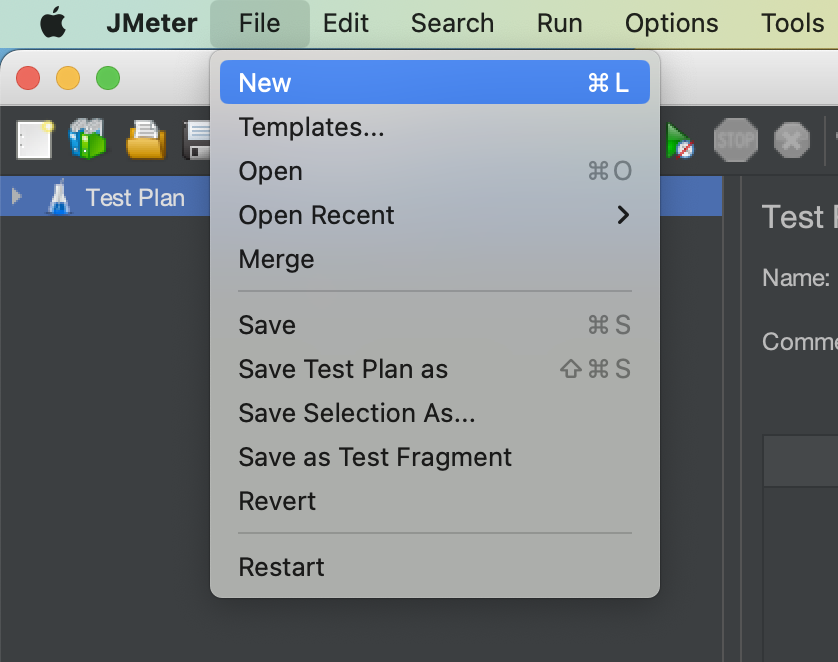
- Go to the “File” Menu and select “New”.
- This will create a new test plan to be used in our example.
Create a Thread Group
- Right-click on the Test Plan.
- To create a Thread group, simply go to “Add > Threads (Users) > Thread Groups”.

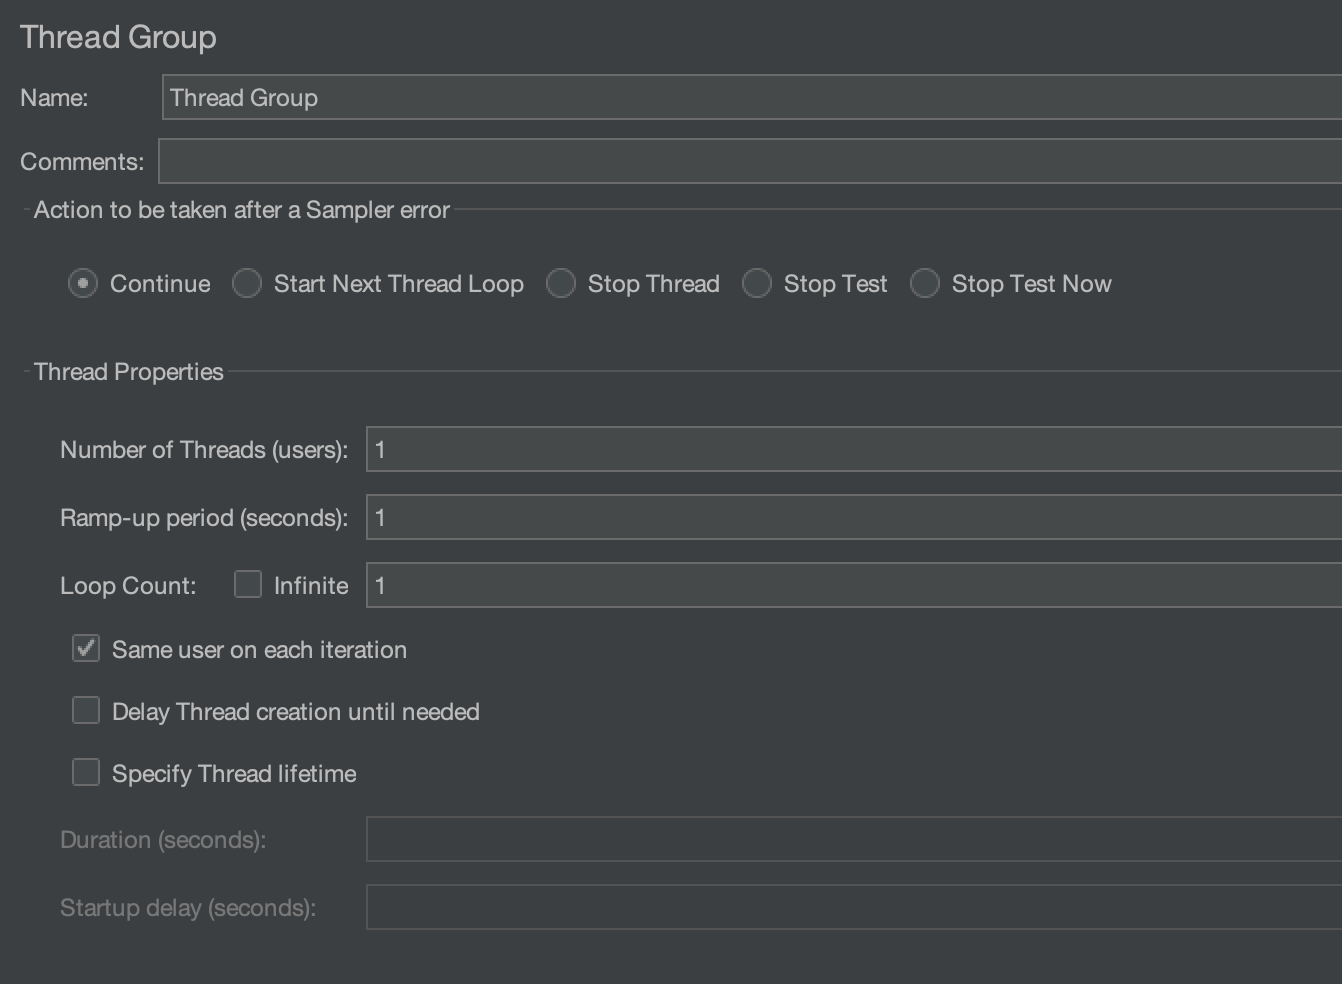
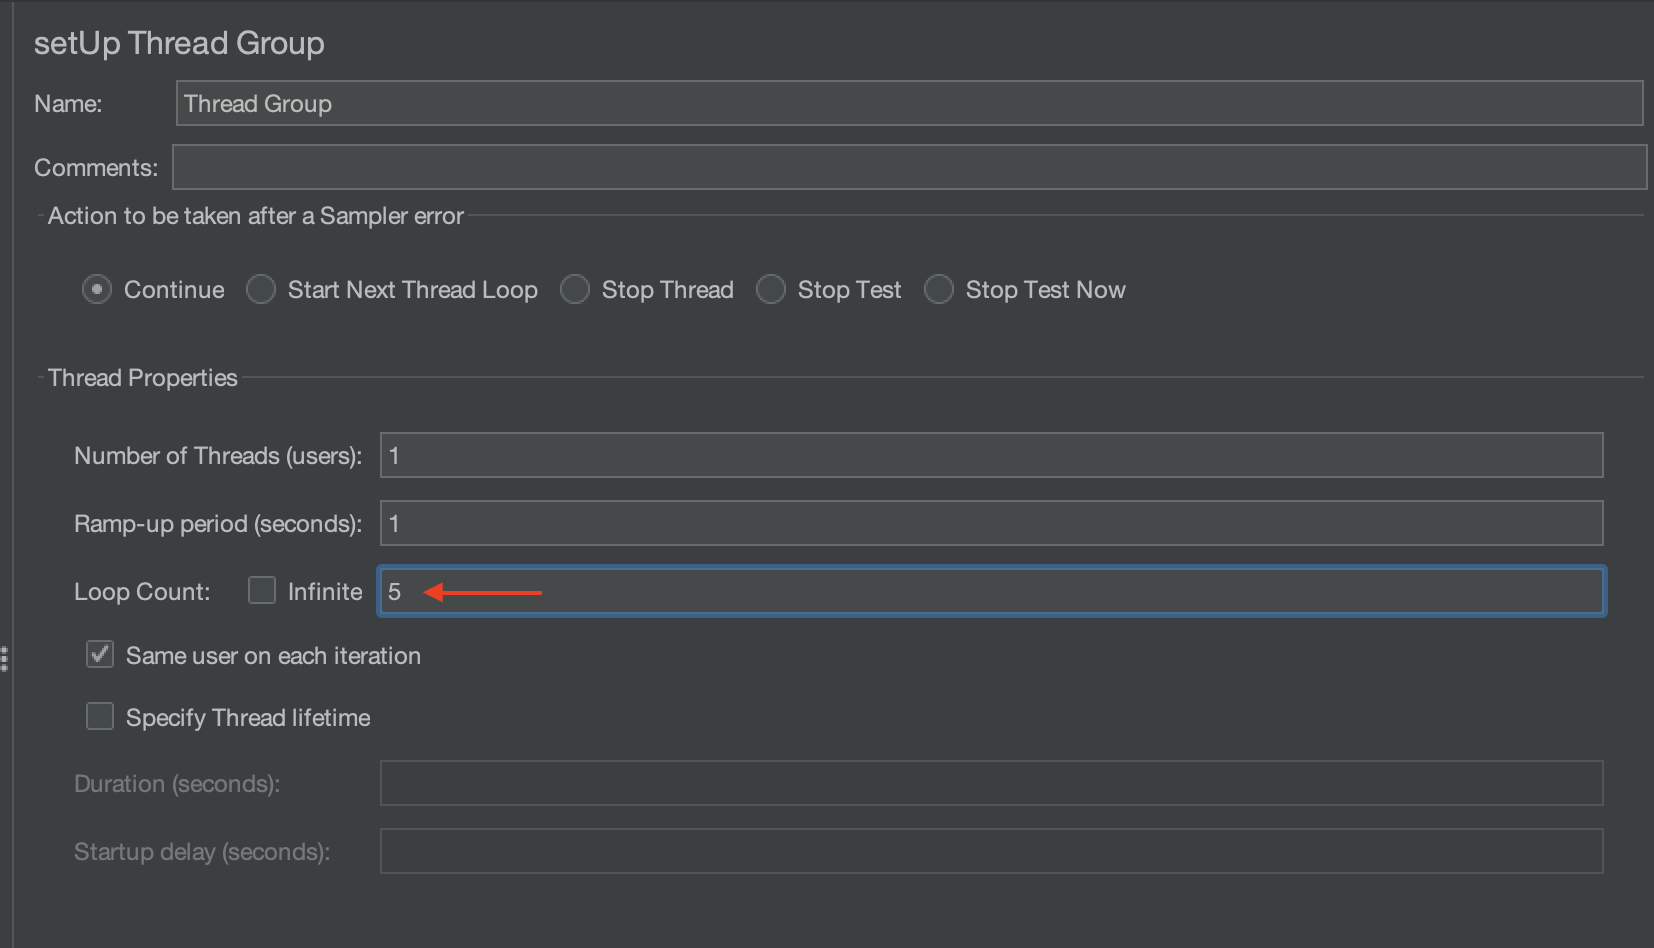
The Thread Group is used to execute a specific number of tests. For simplicity, we will keep it set at 1. Please refer to the image below for configurations.
Add an HTTP sampler
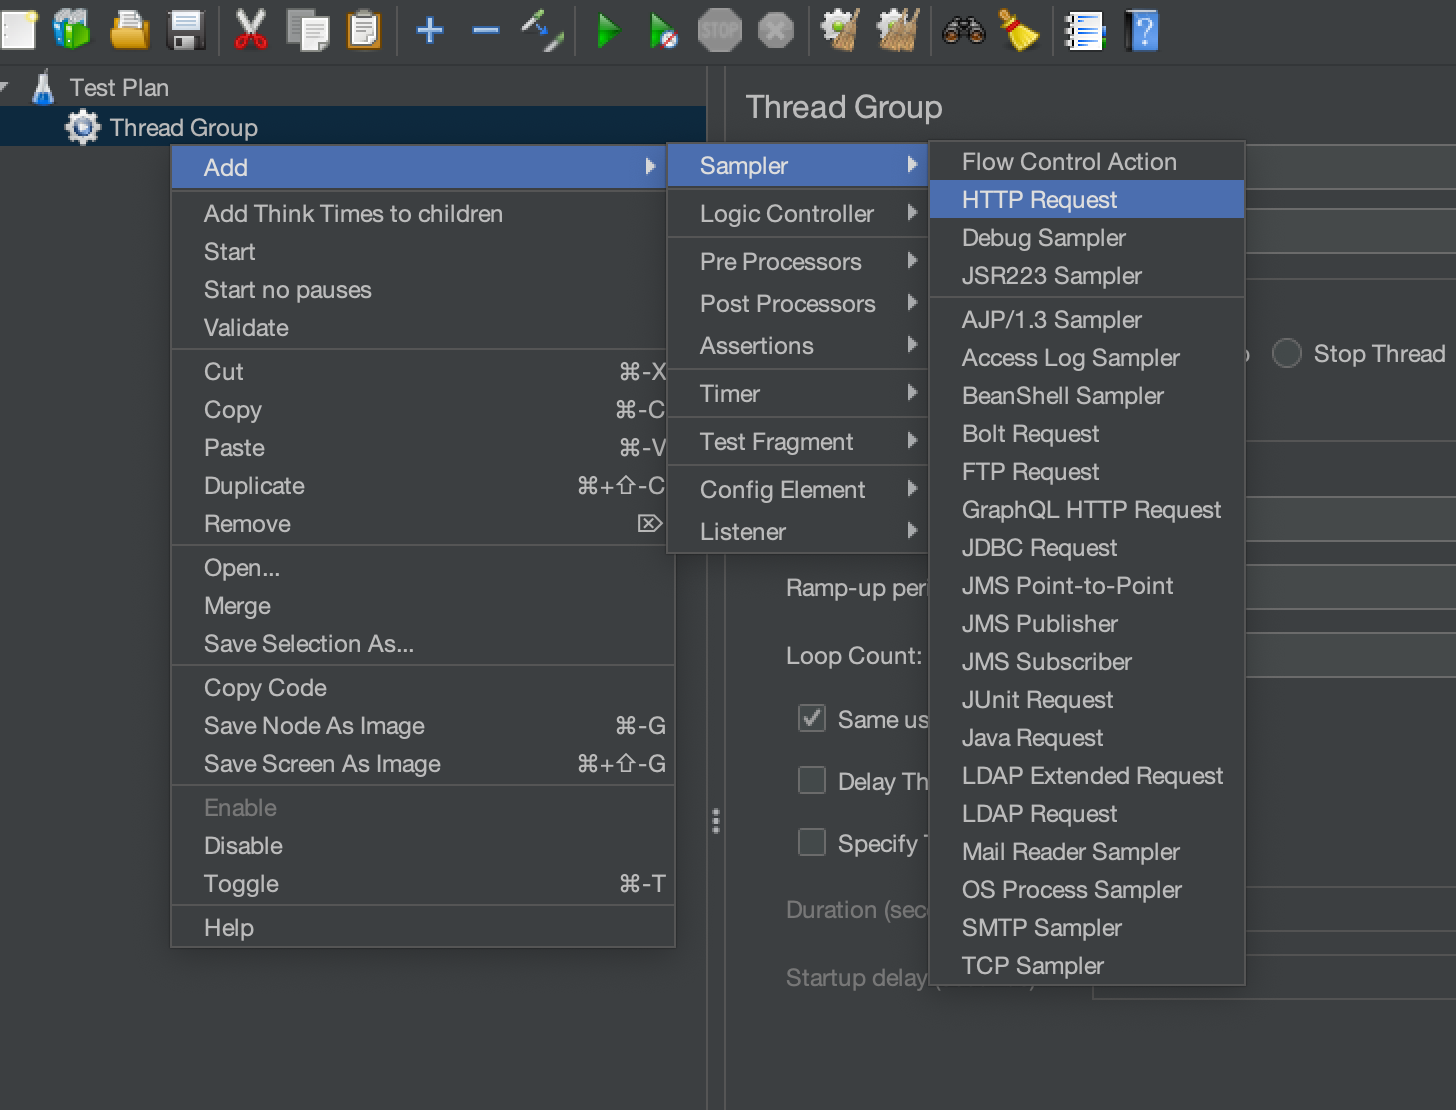
We will use an HTTP sampler to execute a dummy API (https://jsonplaceholder.typicode.com/posts/1). Create an HTTP sampler by right-clicking on the Thread Group and selecting “Add” > “Sampler” > “HTTP Request”.
We will hit the GET request on the “https://jsonplaceholder.typicode.com/posts/1” API. So, we will add it to the HTTP sampler by following the below steps.
- Please enter “https” in the input box that is labelled “Protocol[https]:“.
- Enter “jsonplaceholder.typicode.com” in the input box labelled “Server Name or IP”.
- By default, the HTTP request value is set to GET. Since we are only executing a GET request, we won’t be changing it.
- Set the Path to “/posts/1“.

Add “View Results Tree” listener
View Results Tree listener is one of the most used listeners in Jmeter. It provides detailed information about server responses during performance testing.
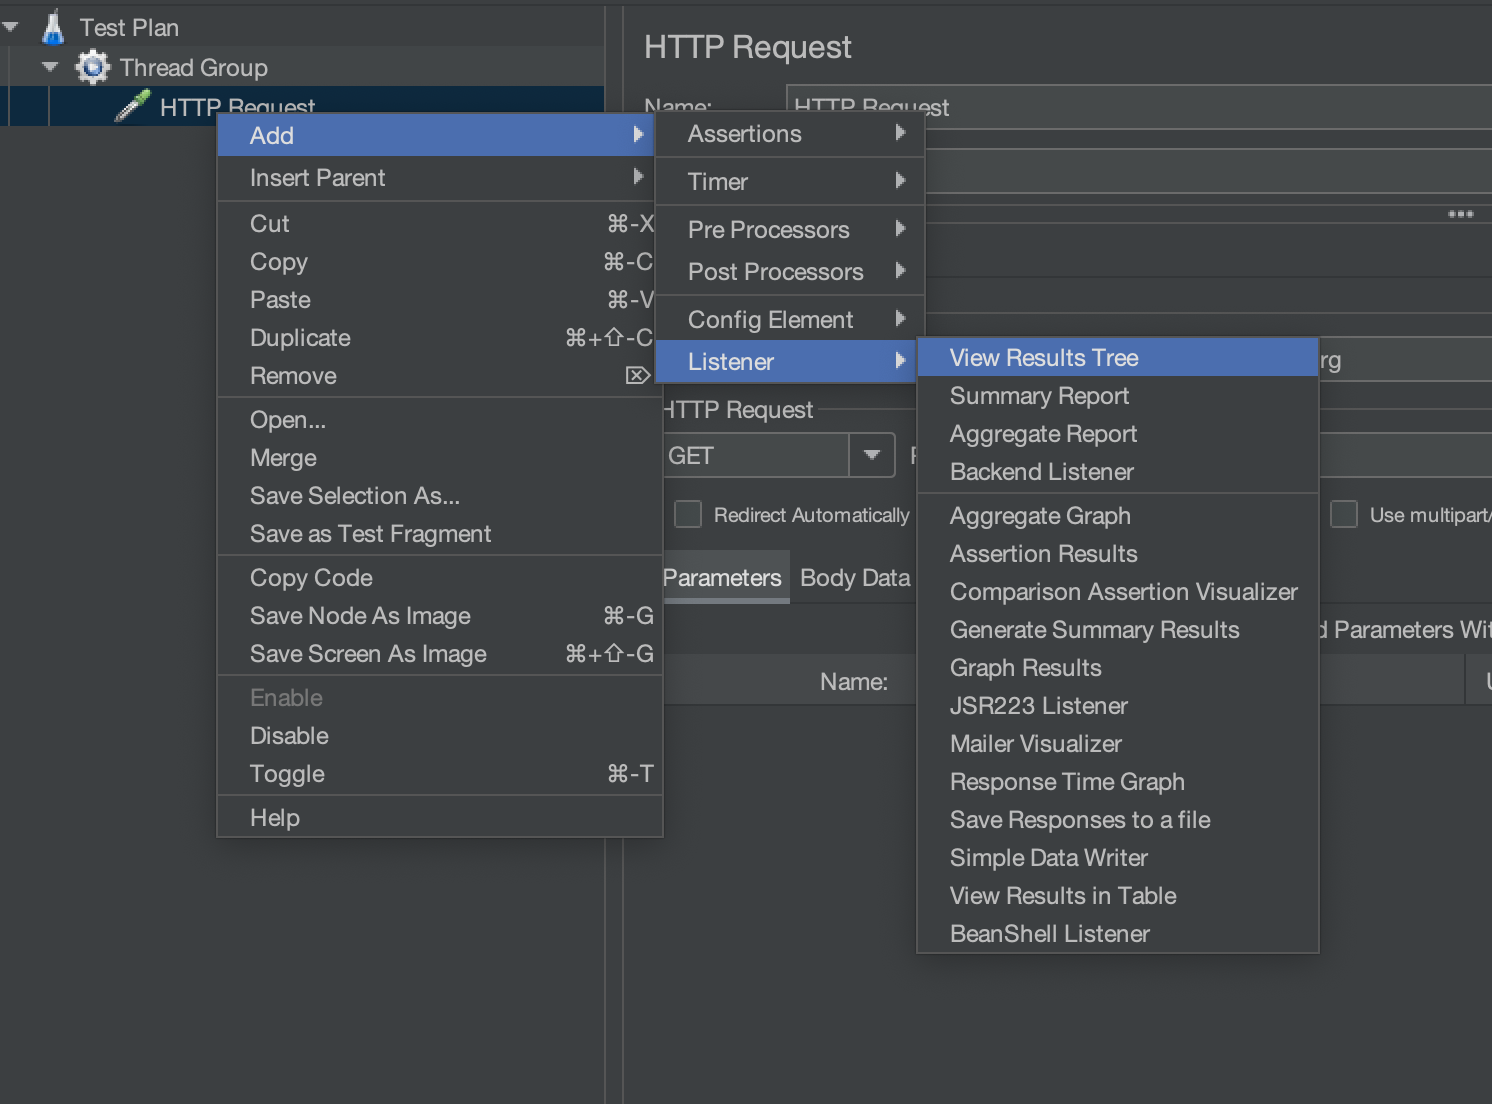
Add the “View Results Tree” listener by right-clicking on the HTTP request and selecting “Add” > “Listener” > “View Result Tree”.
Run Test and monitor results
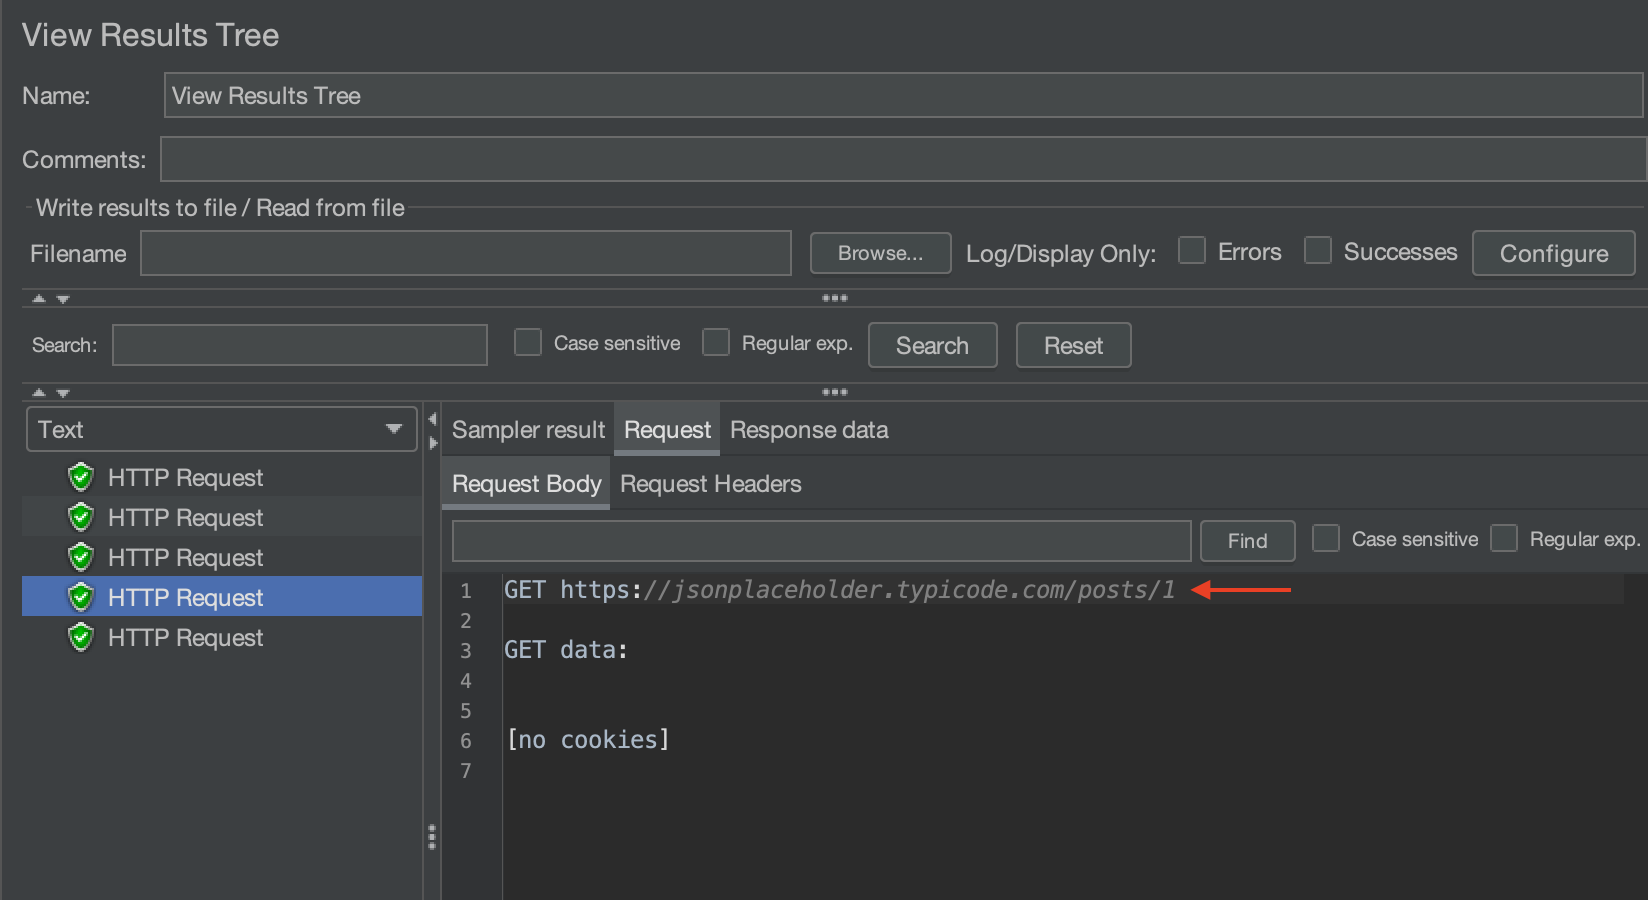
Run the test case by clicking on the green start button and analyze the results in the “view result tree” listener.
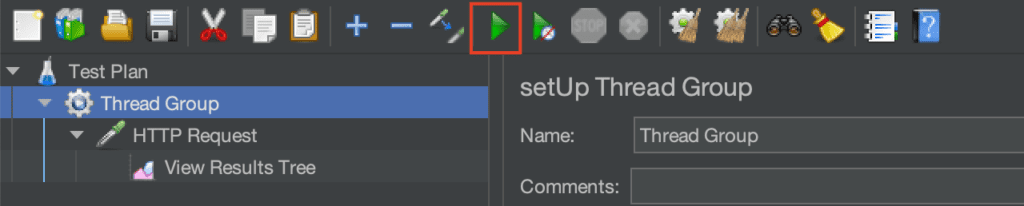
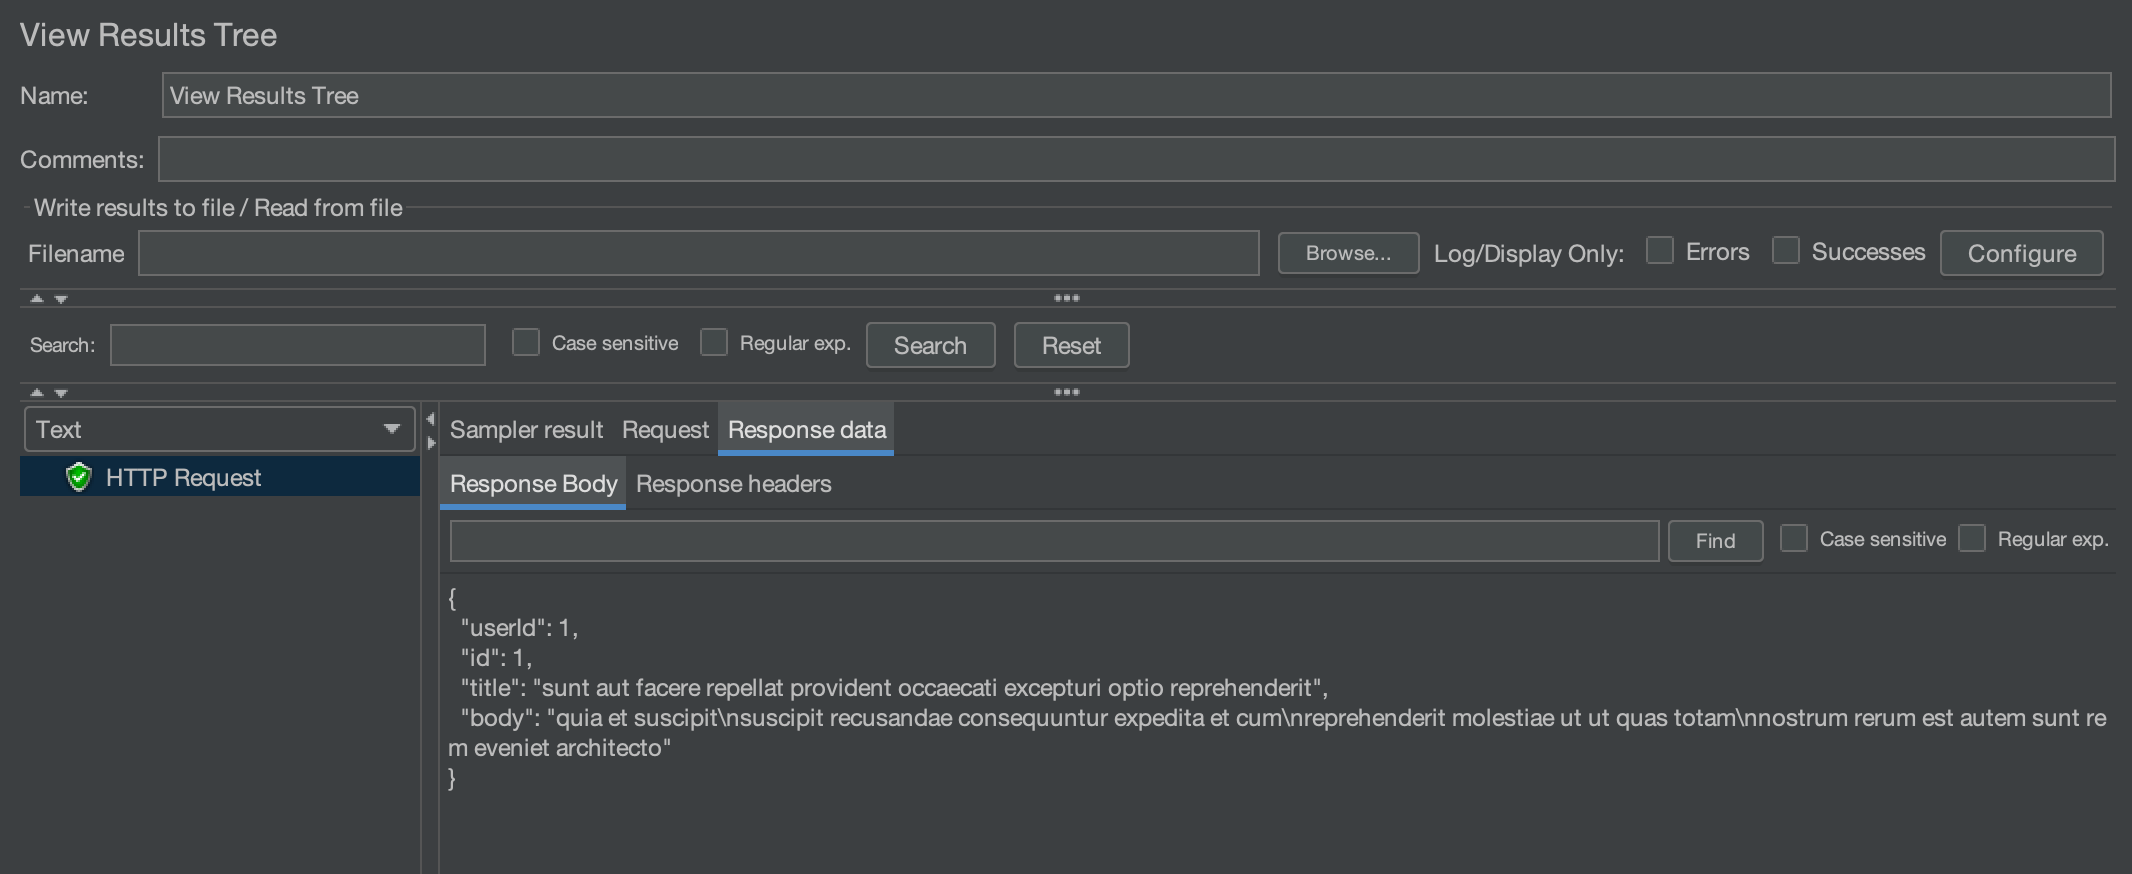
“View result tree” displays the request and response.
Parameterize the PostID using the CSV file
Let’s fetch the details of various posts by parameterizing the postID and reading it from a CSV file.

Our file name path is “D:/Demo.csv”
We need to use the “CSV Data Set Config” Config Element to read data from a CSV file in JMeter. Let’s use it to read postIDs from our CSV file.
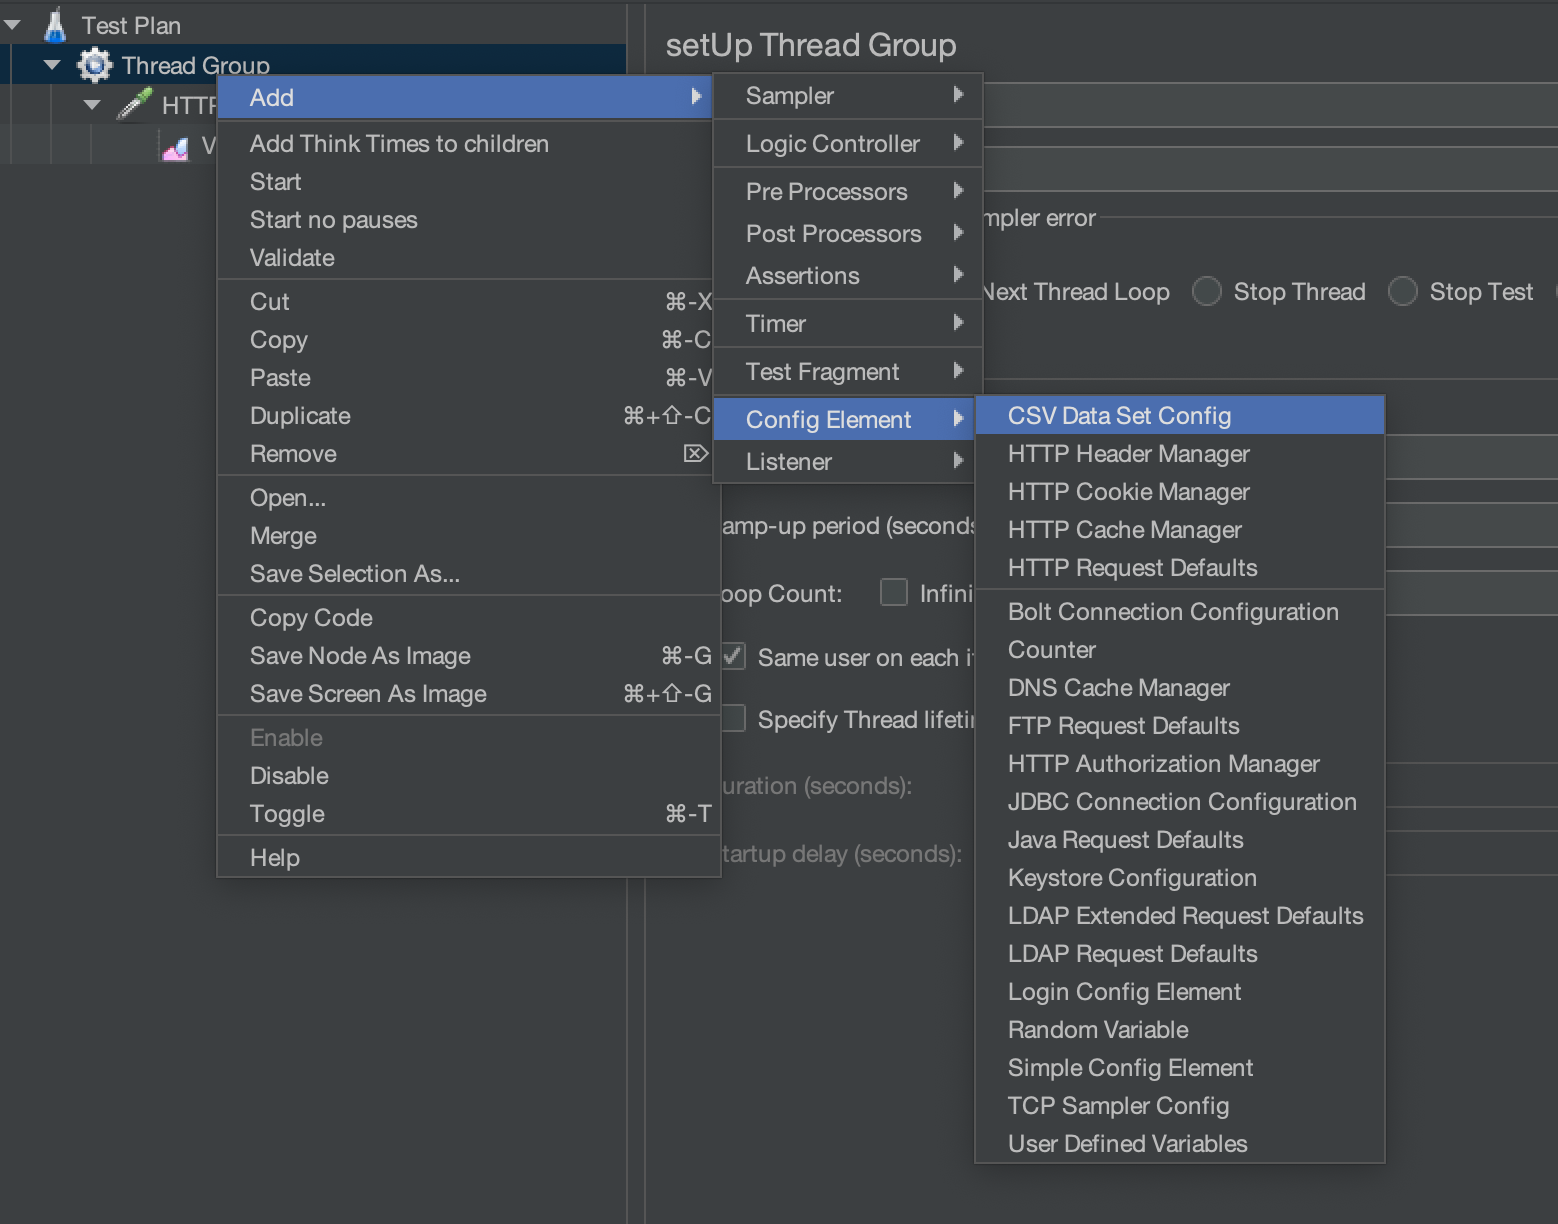
Add “CSV Data Set Config”
- Right-click on the Thread Group
- Select “Add” > “Config Element” > “CSV Data Set Config”
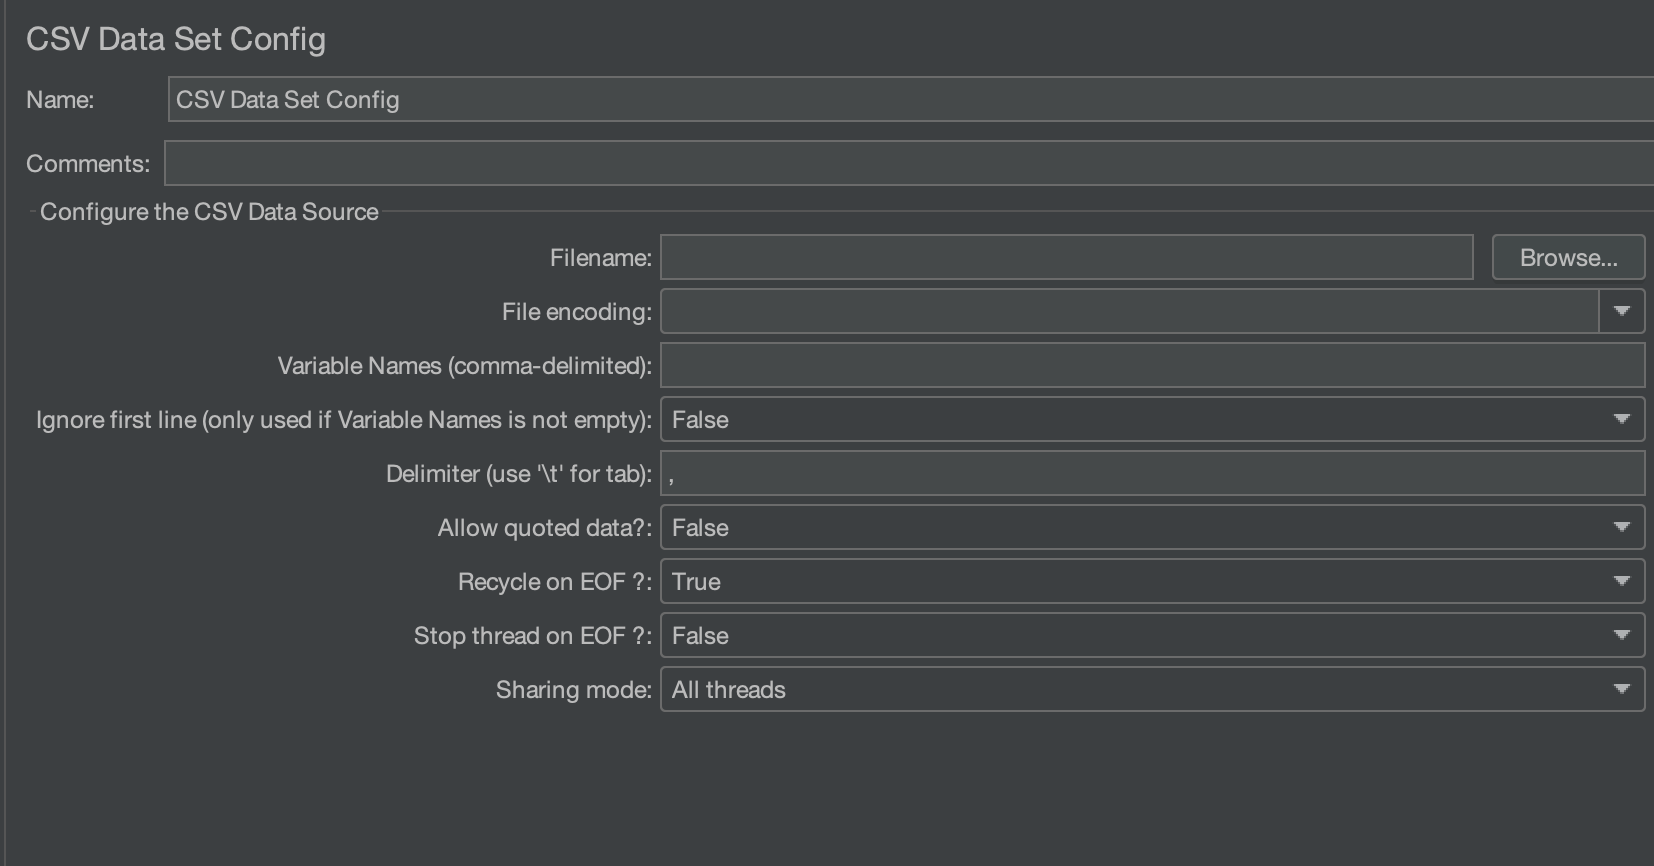
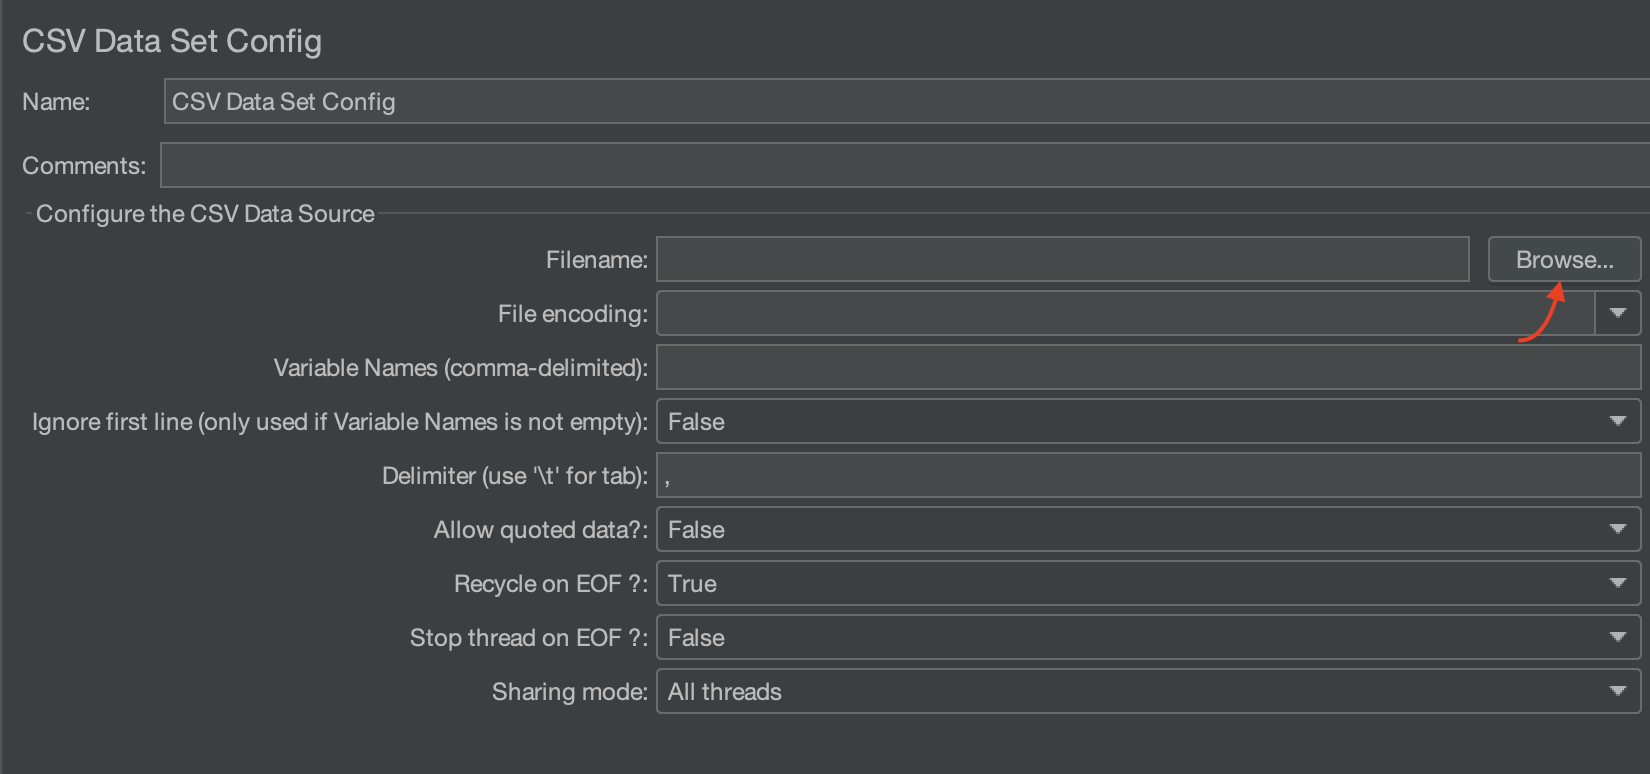
You will see the below screen after adding the “CSV Data Set Config” Config Element.
New Element will, by default, be added at the end. Drag the “CSV Data Set Config” Element just above the HTTP Request Sampler.

Parameterizing the PostID
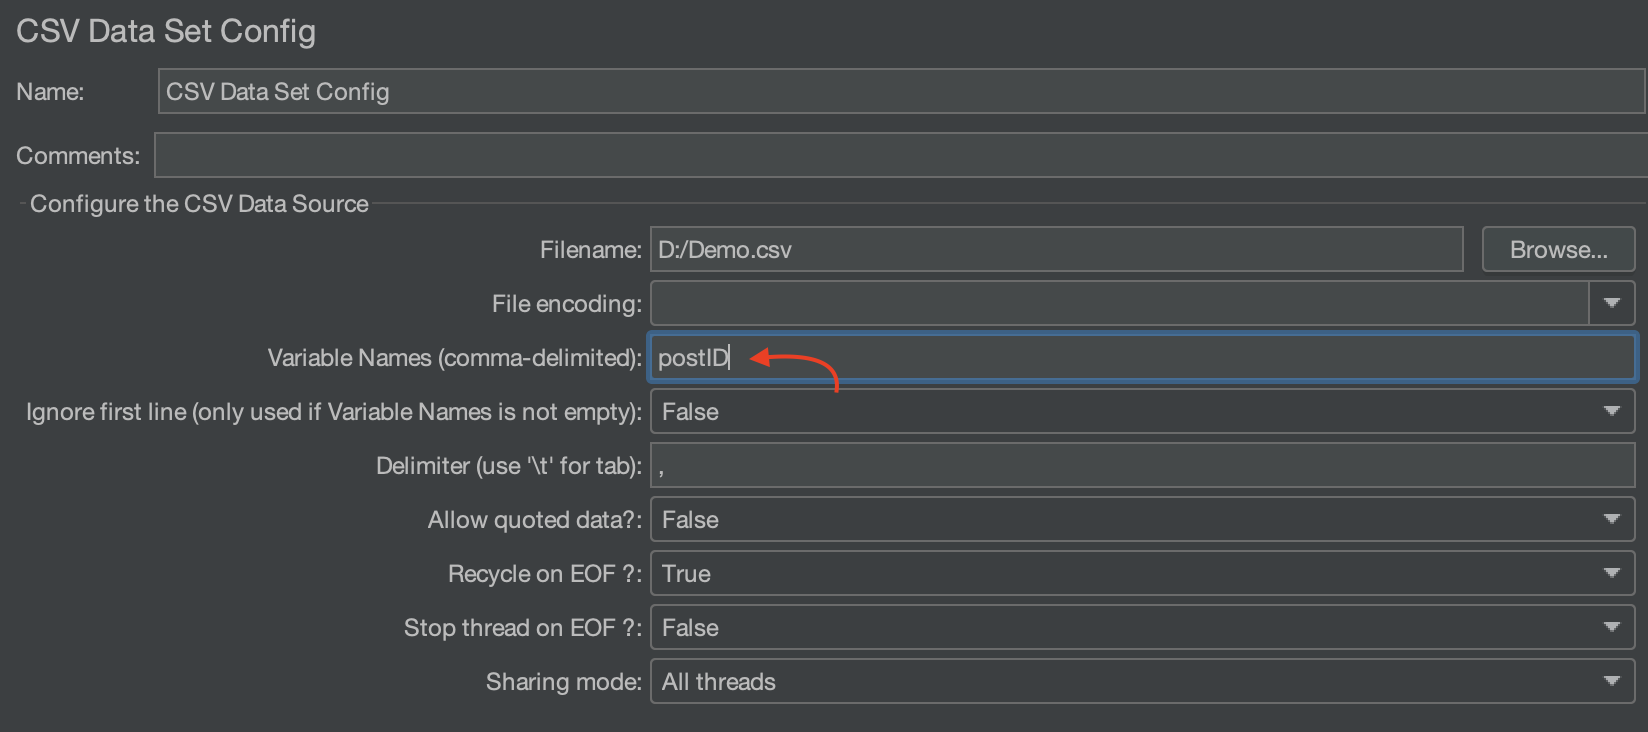
- Select the required CSV file by clicking on the “Browse” button. In our case, it was “Demo.csv”.
- Enter the “postID” as the variable name in the “Variable Names” field. The values from the CSV file will be stored in the postID variable.
Use the variable name in the HTTP sampler
We can use the ${postID} variable in our Test plan to retrieve details for posts 1, 2, and 3 using the HTTP sampler.
Change the path in the HTTP sampler from “/posts/1” to “/posts/${postID}”.

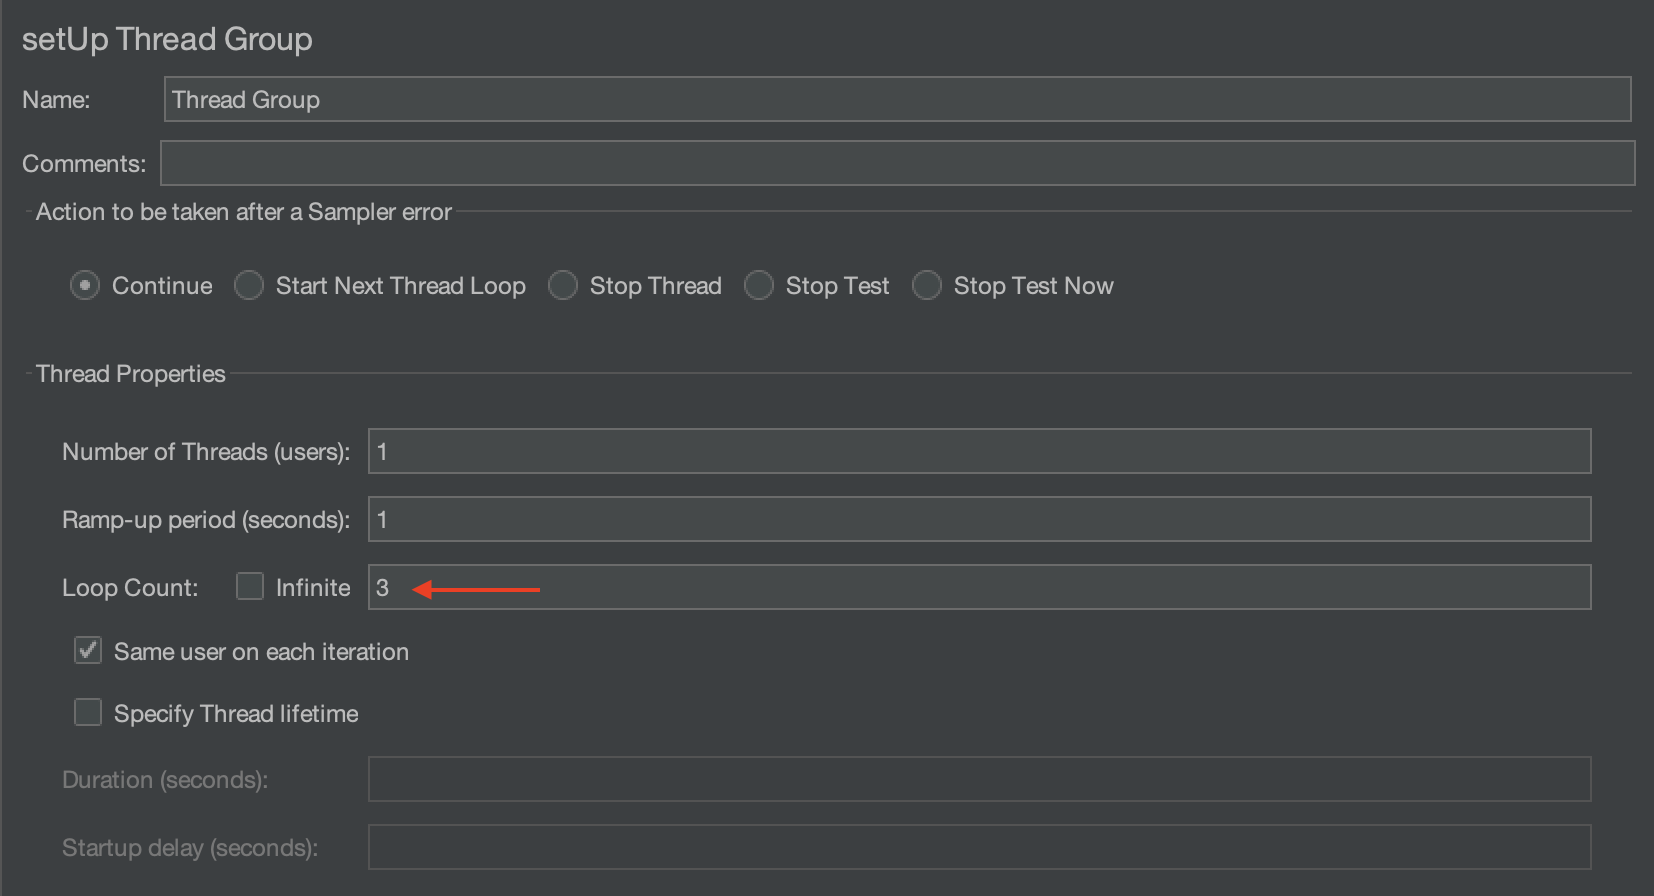
and set the loop count in the Thread Group to “3”.
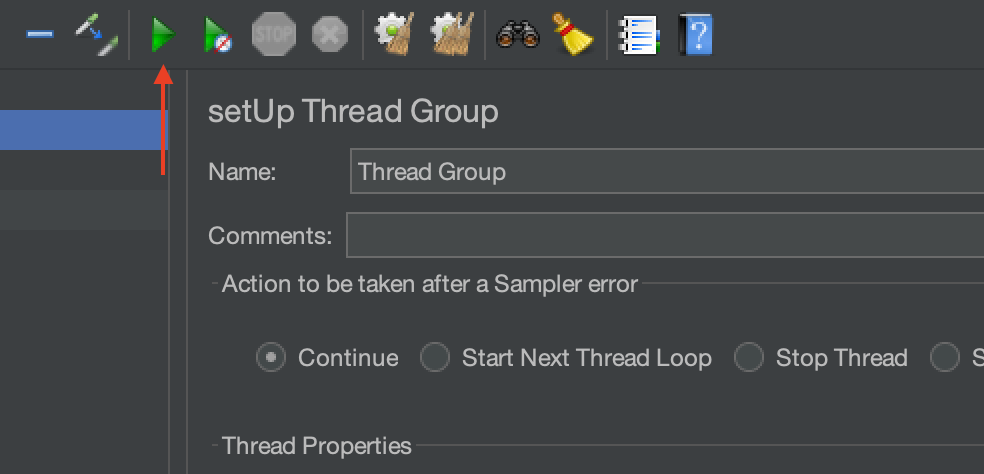
And finally, click on the “Start” button to run the test.
This will execute the API three times with the postID values of 1, 2, and 3.
Go to the View Results Tree and click on the HTTP requests executed.

The two remaining requests were carried out using postID 2 and 3.
So, this is how we can fetch the data from the CSV file and use it to execute the tests.
Dig Deeper into the “CSV Data Set Config”
If you recall, we had three rows in the CSV file and set the loop count in the thread group to three. However, what would have occurred if the loop count in the thread group did not match the total number of rows in the CSV file?
This will lead to two scenarios –
- Loop count is greater than the total number of rows in the CSV file.
- Loop count is less than the total number of rows.
Let’s look at each of these scenarios one by one.
Loop count is greater than the total number of rows
If the loop count is 5 and the total number of rows in the CSV file is 3, then during the 4th iteration, Jmeter will return to the 1st row of the CSV file to retrieve its value. Similarly, during the 5th iteration, it will retrieve the value from the 2nd row of the CSV file. This means that the CSV file will be reused from the beginning every time it is fully consumed.
Let’s see with an example. Keep the Loop count in the thread group as 5 and use the same CSV file with 3 rows.
Now, run the test again.
“View Results Tree” will display 5 runs. Click on the 4th run to see that the postID is set to 1 for the request execution.
Loop count is less than the total number of rows
In this situation, if the CSV file contains more rows than the specified number of iterations, the iterations will only pick their corresponding rows from the CSV file. For instance, if the loop count is set to 2 and the CSV file has 3 rows, then the first two iterations will only pick from the first two rows of the CSV file, and the last row will not be used.
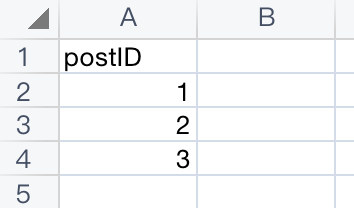
Using headers of CSV file as the variable names
If you recall, we previously added the variable name “postID” in the “Variable Names” section of the “CSV Data Set Config”. However, if we include a header in the CSV file, it is not necessary to manually add the variable name in the “Variable Names” section. JMeter will automatically recognize the corresponding column’s header as the variable name to be used in the Test Plan.
See our updated CSV file.
and now, remove the variable name from the “Variable Names” Section.

When you run the test plan again, you will see that the postID variable is correctly assigned with respective values.
Stopping execution if the CSV file is fully consumed
When the loop count exceeded the number of rows in the CSV file, the file was reused from the beginning. However, we could also choose to stop the execution once the CSV file is fully consumed.
To achieve the task, you need to set “Recycle on EOF ?” as “False” and “Stop thread on EOF ?” as “True”.
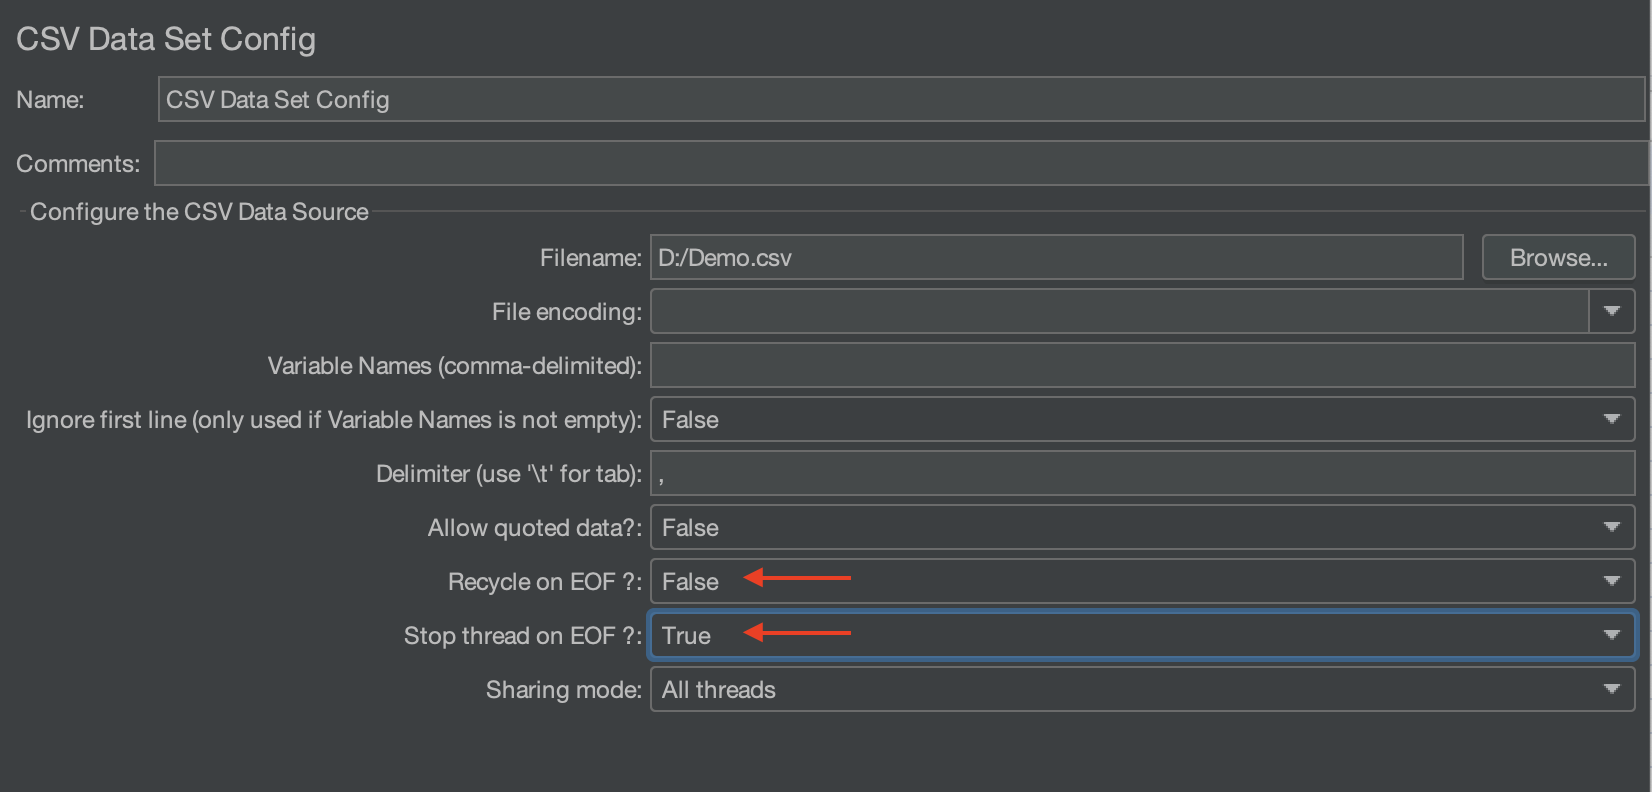
After setting the Thread Loop Count to 5, run the test plan again. You will see in the “View Results Tree” that only 3 executions occurred.
Video Tutorial
This is it. We hope that you have liked the article. If you have any doubts or concerns, please write to us in the comments or mail us at admin@codekru.com.