
JSR223 Assertion allows us to create custom validation rules using scripting languages like Groovy, JavaScript, and more. This article will discuss the JSR223 Assertion in detail.
During load tests, testers can utilize JSR223 Assertion to make use of scripting languages such as Groovy, JavaScript, and Beanshell. This enables them to create validation logic for the responses received. The flexibility provided by JSR223 Assertion is particularly useful when dealing with complex scenarios or dynamic content that cannot be verified effectively using JMeter’s built-in assertion components like Duration Assertion or JSON Assertion.
Benefits of using JSR223 Assertion
- Customized Validation Logic: With the help of JSR223 assertion, testers can now create custom validation scripts that are tailored specifically to their application’s unique requirements. This empowers testers to go beyond predefined validation rules and ensure that their application is tested thoroughly and accurately.
- Choice of Scripting Languages: It supports multiple scripting languages, offering testers the flexibility to choose the language they are most proficient in or that best suits their testing needs.
- Access to response data: We can directly access the response data within JSR223 scripts and perform various complex operations. Eg. we can save the responses to an Excel sheet using JSR223 Assertion.
Let’s move on to show the usage of JSR223 Assertion with an example. We will hit the “https://jsonplaceholder.typicode.com/posts/1” API and then perform custom validation using JSR223 Assertion.
We will achieve this using the below steps
- Executing the API
- Adding JSR223 Assertion to Test Plan
- Decoding JSR223 Assertion
- Finally, JSR223 Assertion example
Executing the API
Set Up a Test Plan
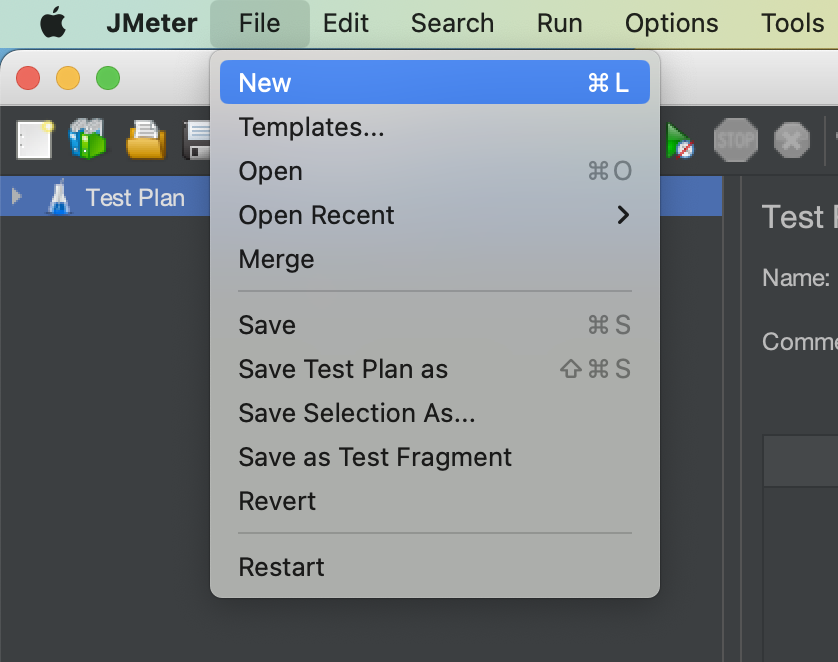
- Launch JMeter.
- Go to the “File” Menu and select “New”.
- This will create a new test plan to be used in our example.
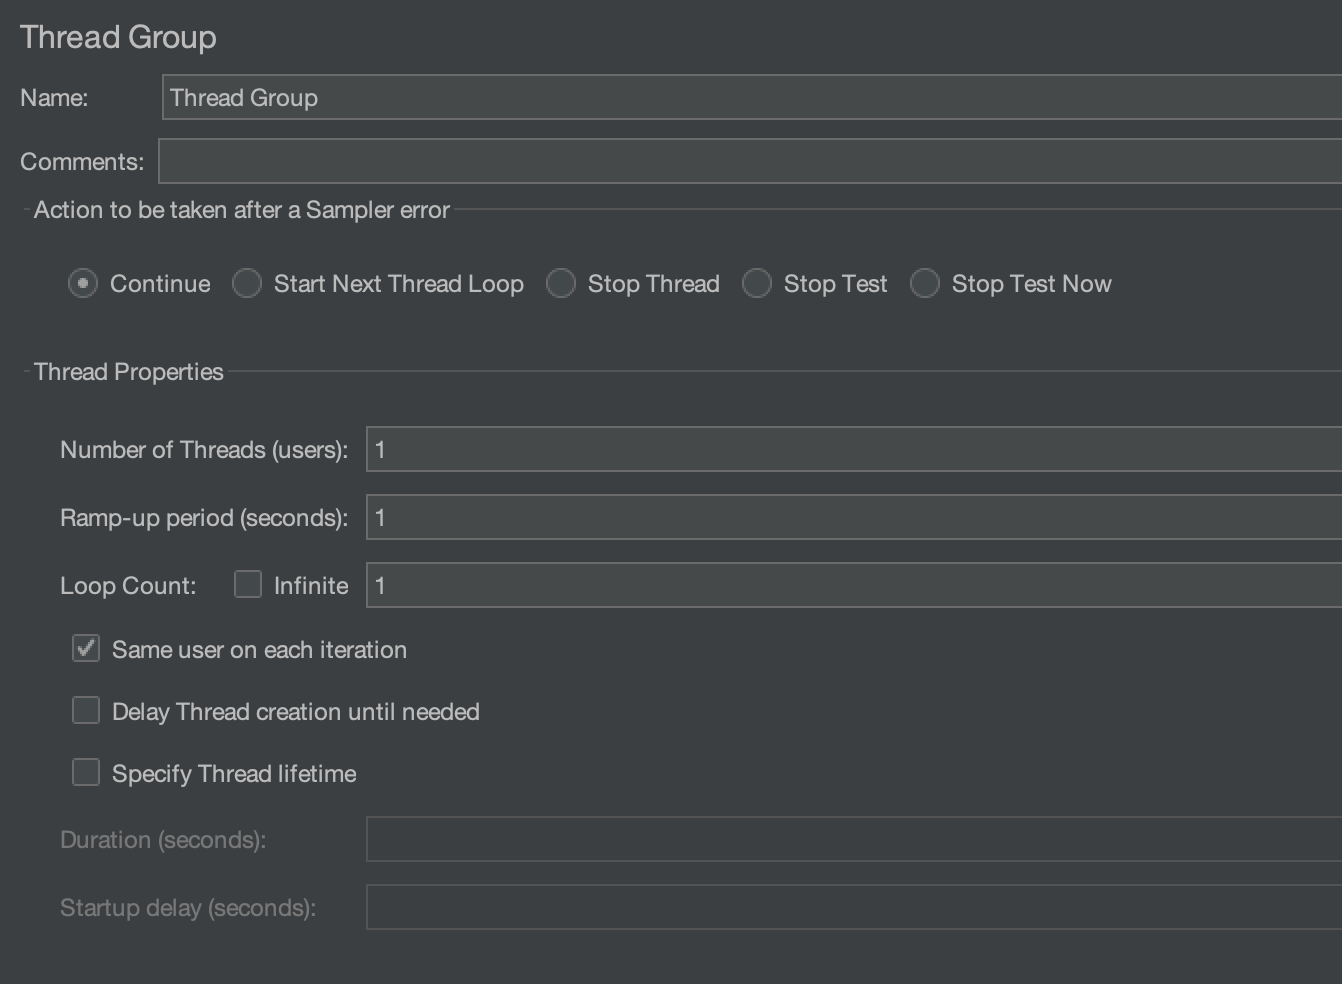
Create a Thread Group
- Right-click on the Test Plan.
- To create a Thread group, simply go to “Add > Threads (Users) > Thread Groups”.

The Thread Group is used to execute a specific number of tests. For simplicity, we will keep it set at 1. Please refer to the image below for configurations.
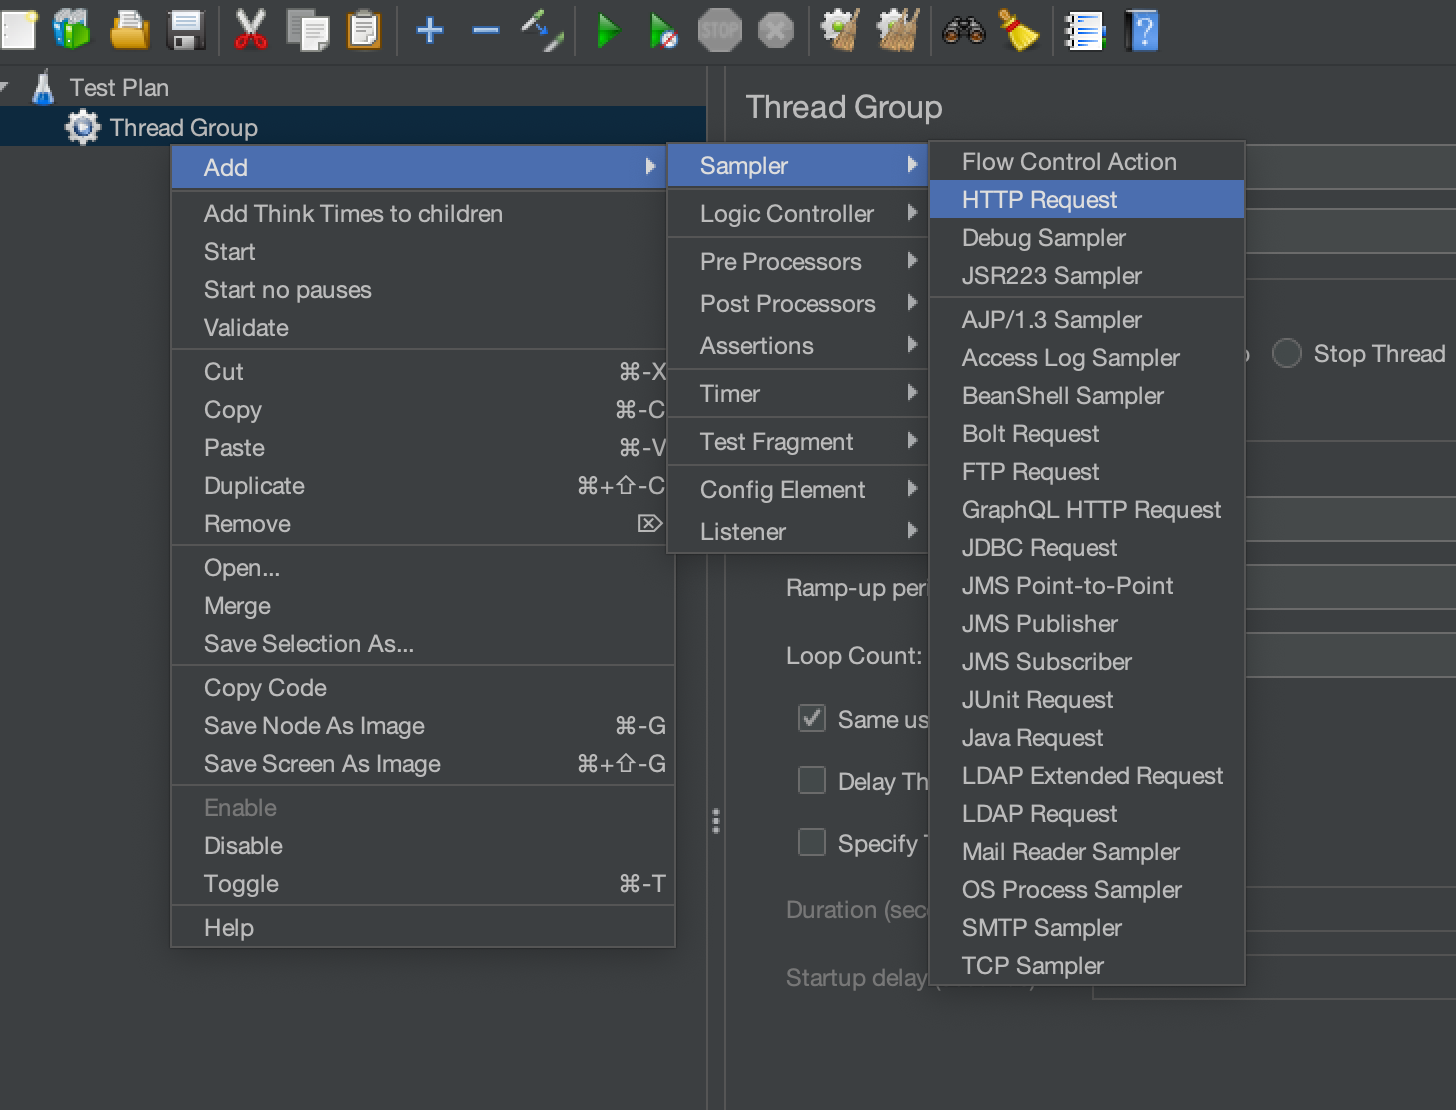
Add an HTTP sampler
We will use an HTTP sampler to execute a dummy API (https://jsonplaceholder.typicode.com/posts/1). Create an HTTP sampler by right-clicking on the Thread Group and selecting “Add” > “Sampler” > “HTTP Request”.
We will hit the GET request on the “https://jsonplaceholder.typicode.com/posts/1” API. So, we will add it to the HTTP sampler by following the below steps.
- Please enter “https” in the input box that is labelled “Protocol[https]:“.
- Enter “jsonplaceholder.typicode.com” in the input box labelled “Server Name or IP”.
- By default, the HTTP request value is set to GET. Since we are only executing a GET request, we won’t be changing it.
- Set the Path to “/posts/1“.

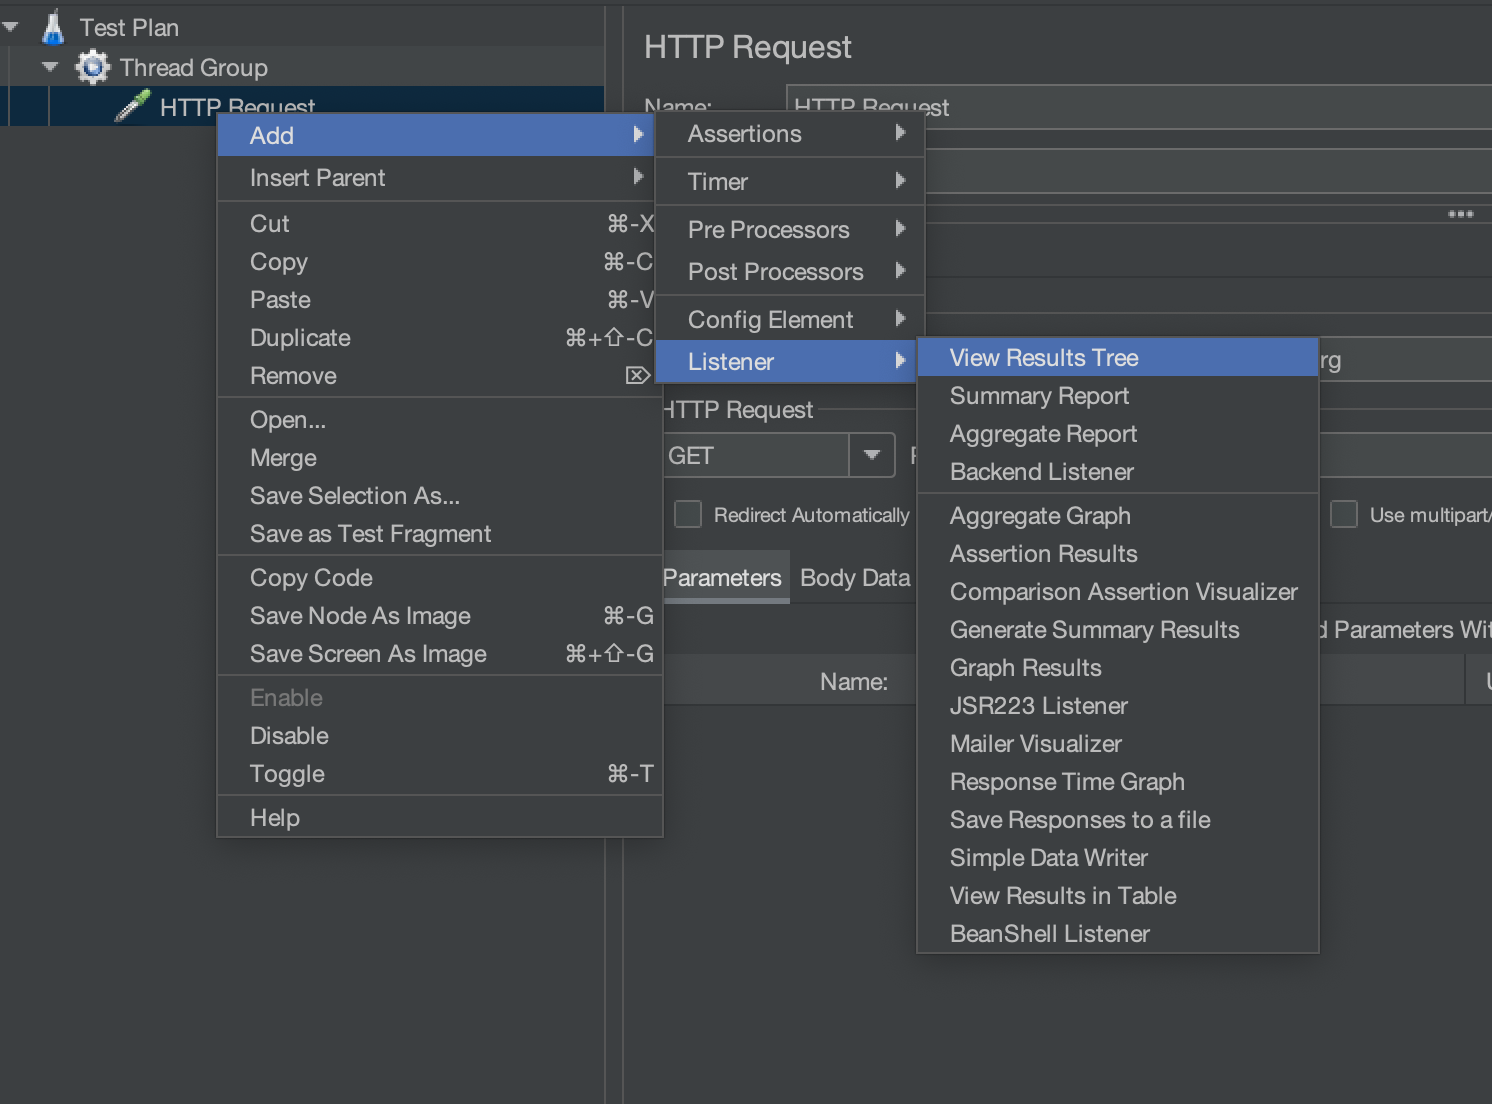
Add “View Results Tree” listener
View Results Tree listener is one of the most used listeners in Jmeter. It provides detailed information about server responses during performance testing.
Add the “View Results Tree” listener by right-clicking on the HTTP request and selecting “Add” > “Listener” > “View Result Tree”.
Run Test and monitor results
Run the test case by clicking on the green start button and analyze the results in the “view result tree” listener.
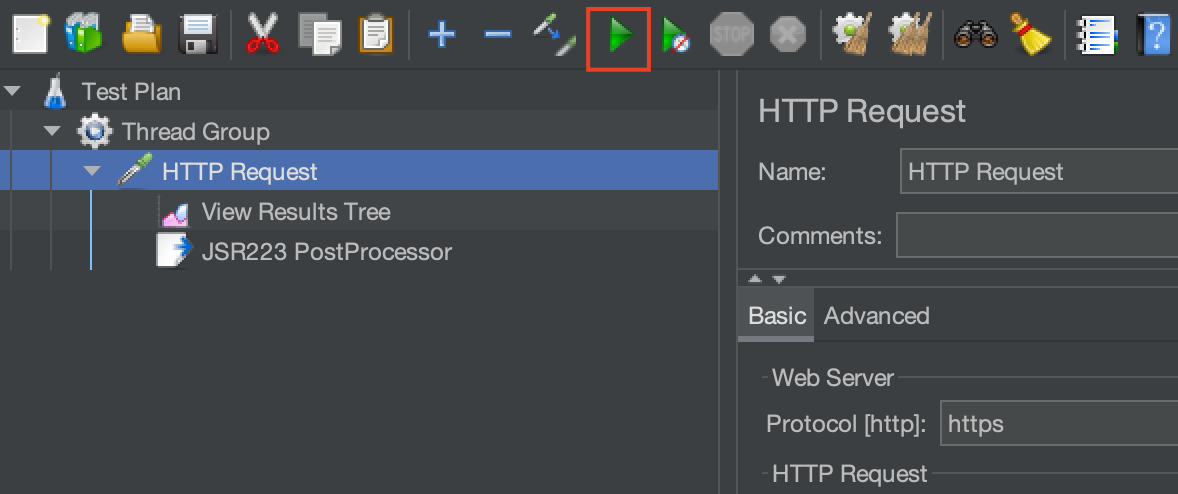
“View result tree” displays the request and response.
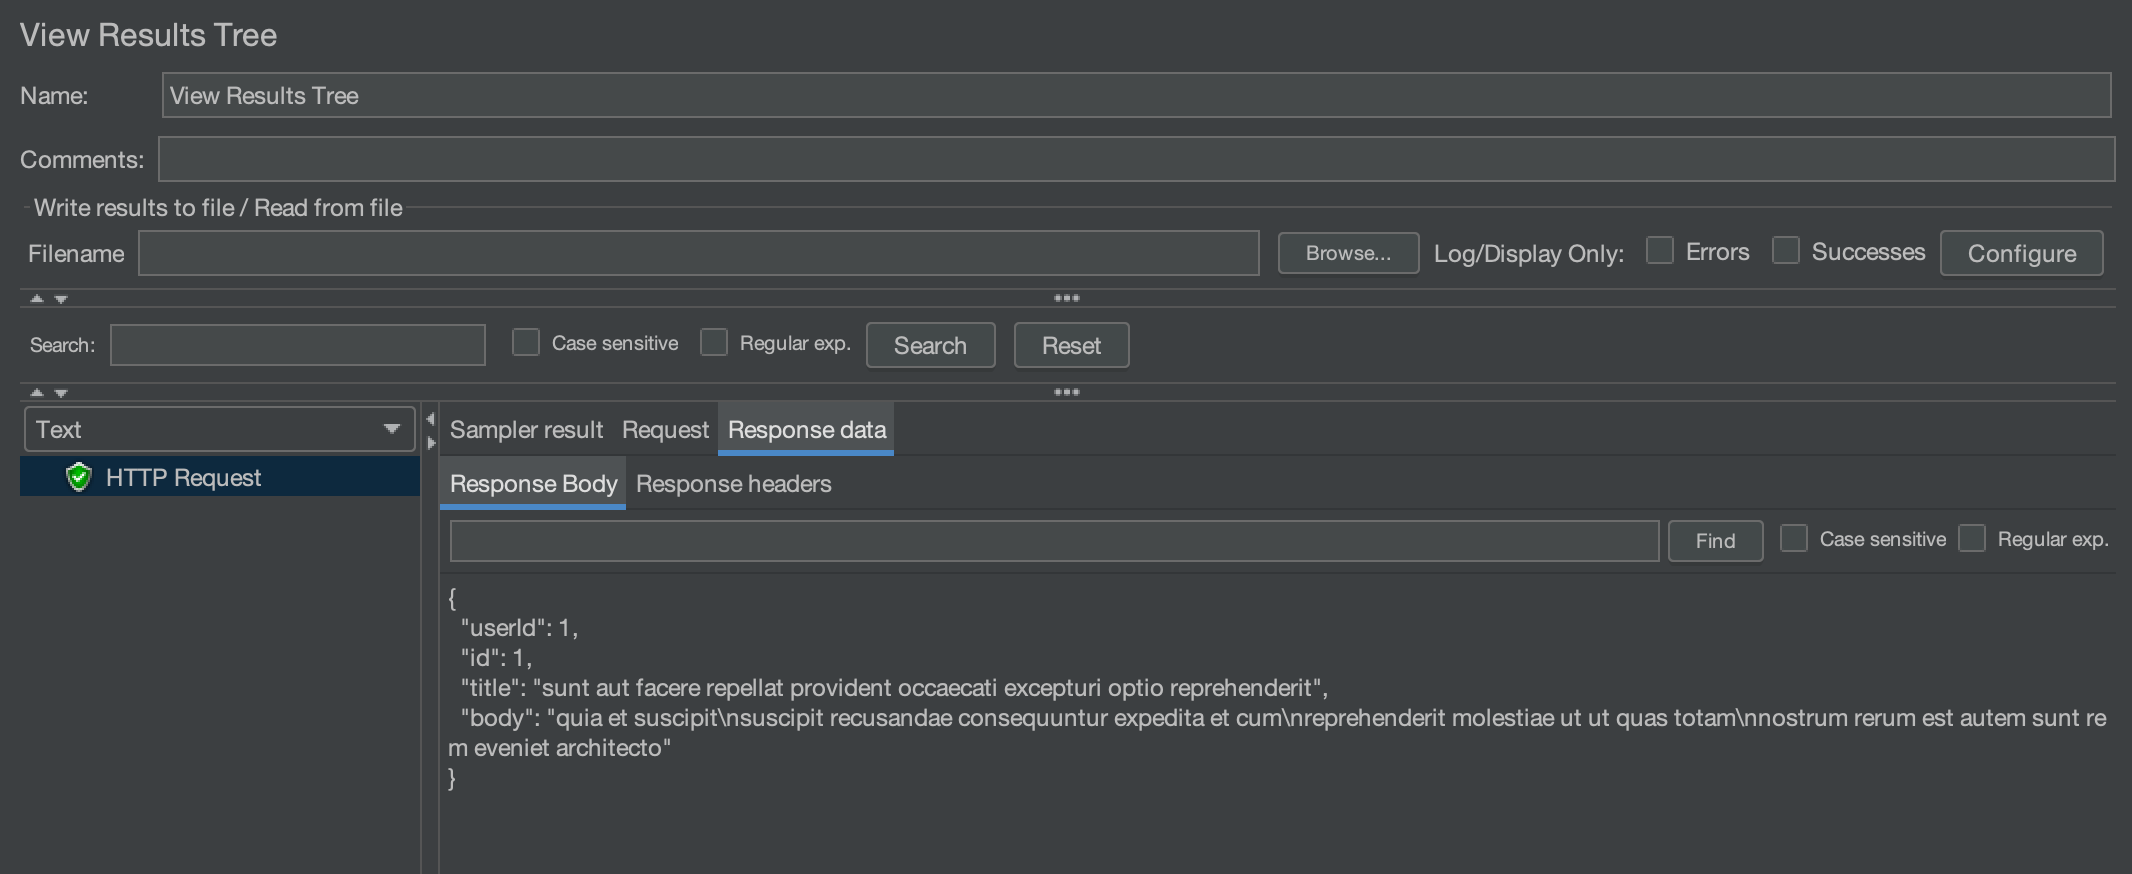
So, we got the below response from the API.
{
"userId": 1,
"id": 1,
"title": "sunt aut facere repellat provident occaecati excepturi optio reprehenderit",
"body": "quia et suscipit\nsuscipit recusandae consequuntur expedita et cum\nreprehenderit molestiae ut ut quas totam\nnostrum rerum est autem sunt rem eveniet architecto"
}
Adding JSR223 Assertion to Test Plan
Right-click on the HTTP request and select “Add” > “Assertions” > “JSR223 Assertion”.

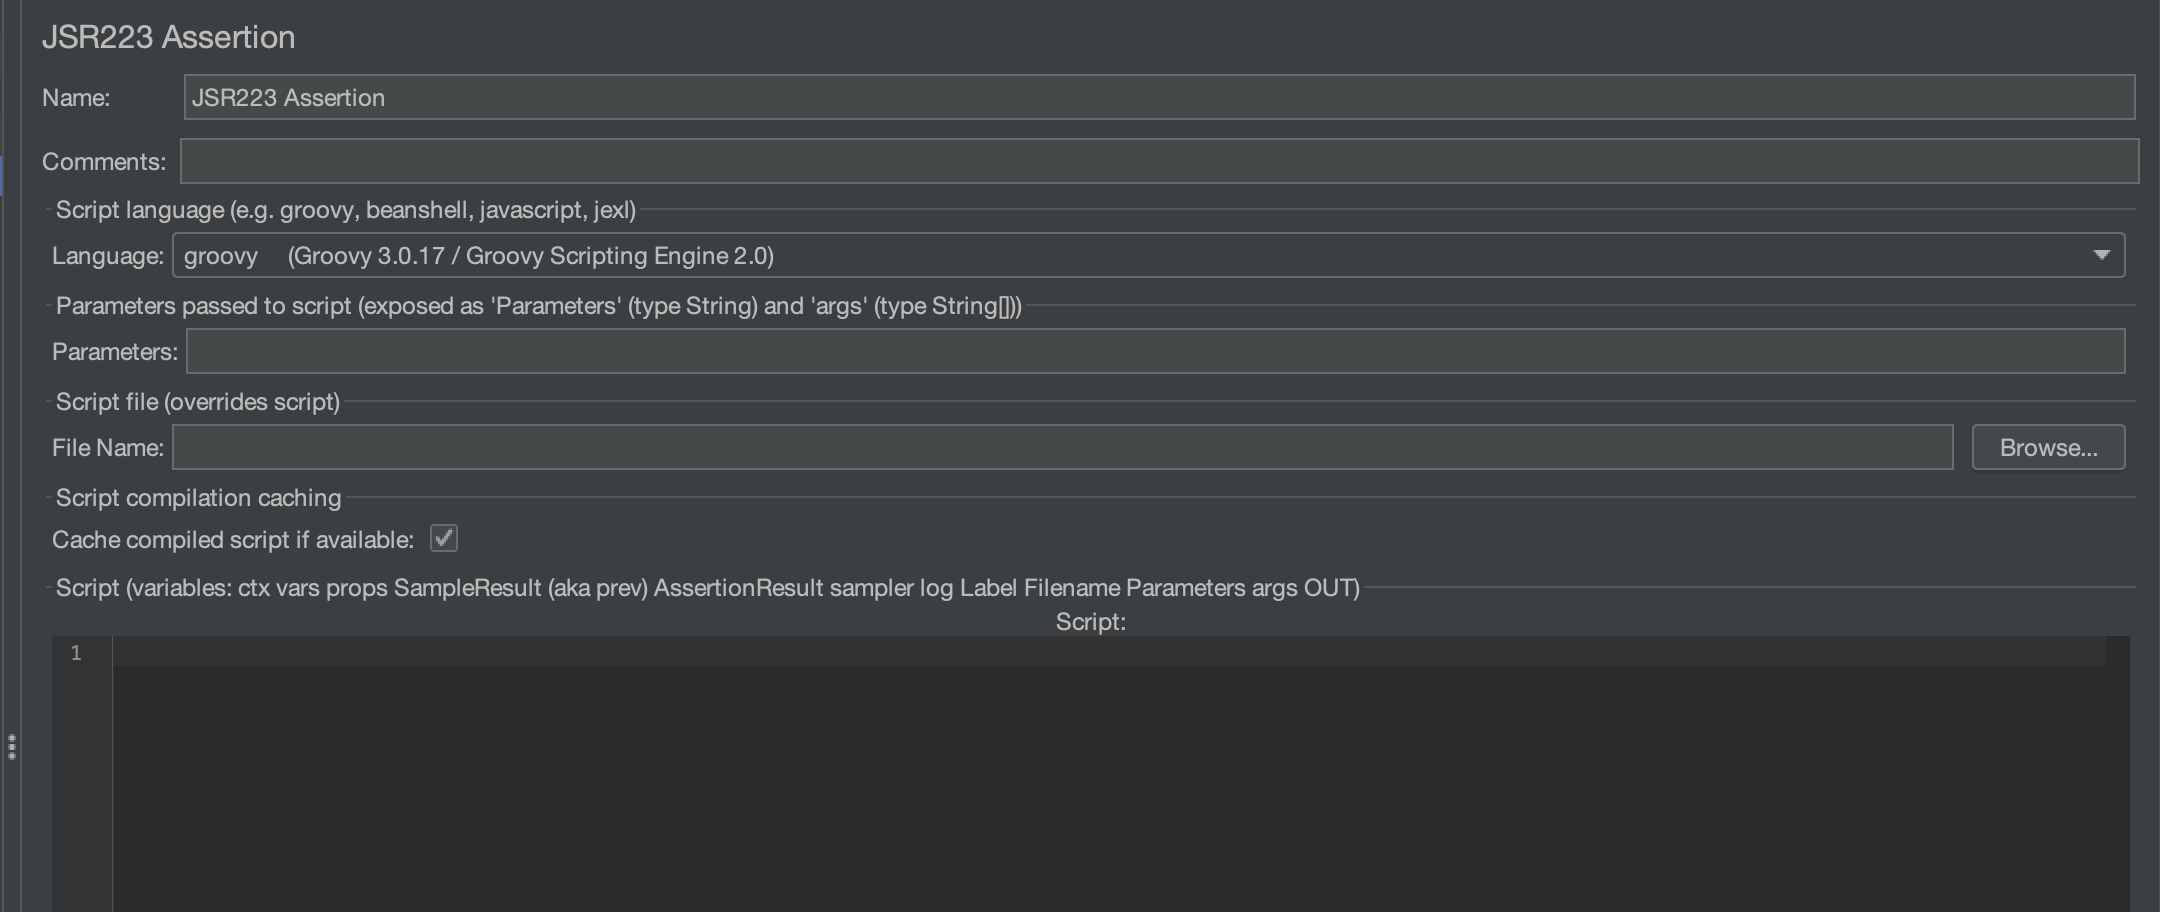
Let’s discuss the components shown on the JSR223 Assertion screen above.
Decoding JSR223 Assertion ( JSR223 Assertion Components )
To better understand the components of the JSR223 Assertion, it’s important that we enable the log view first. This will allow us to see the logs that are printed whenever we use the log.info() function in the script.
This will open up the log view in Jmeter, where we can see all the logs. Let’s now discuss the components –
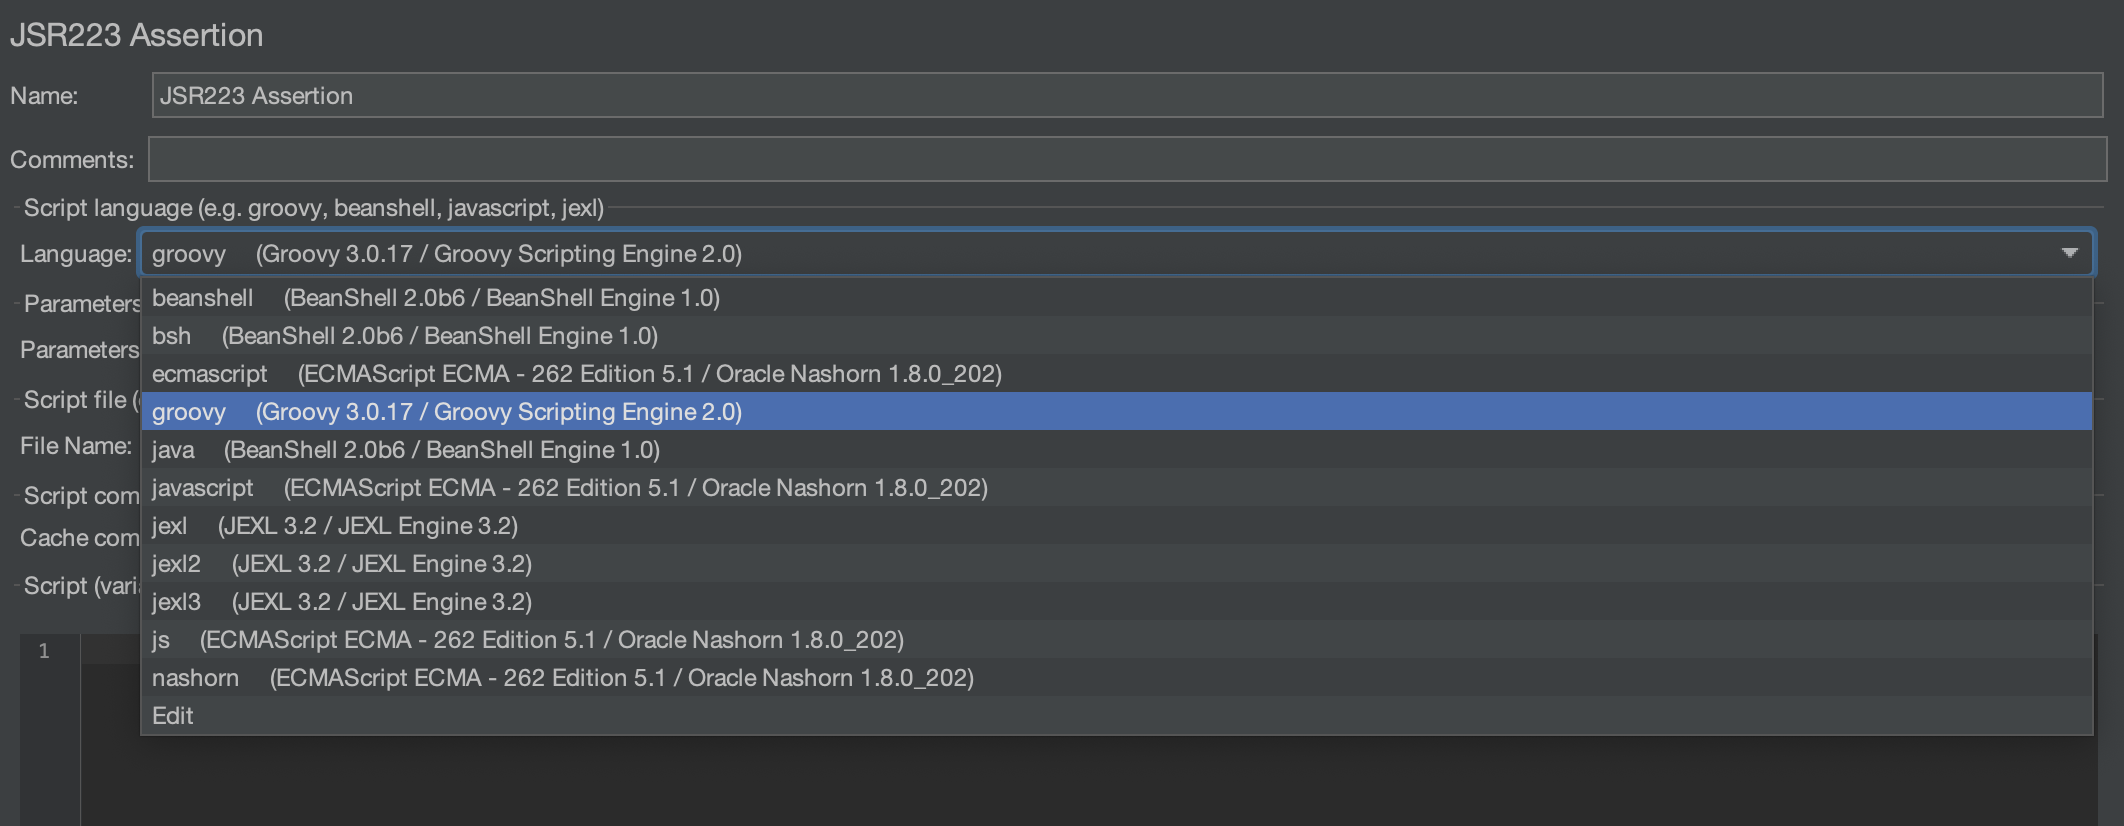
Language
The default programming language is currently set to Groovy, however, alternative languages can be selected by utilizing the dropdown menu provided.
We can now write code in the selected programming language. For our example, we have chosen Groovy.
Script
It’s the heart of the JSON Assertion. This is where all the code goes. This code is responsible for defining the validation logic that determines whether the assertion passes or fails based on the response received from a sampler in your test plan.
Let’s add the following log line to the script and rerun the test.
log.info("Test Script...");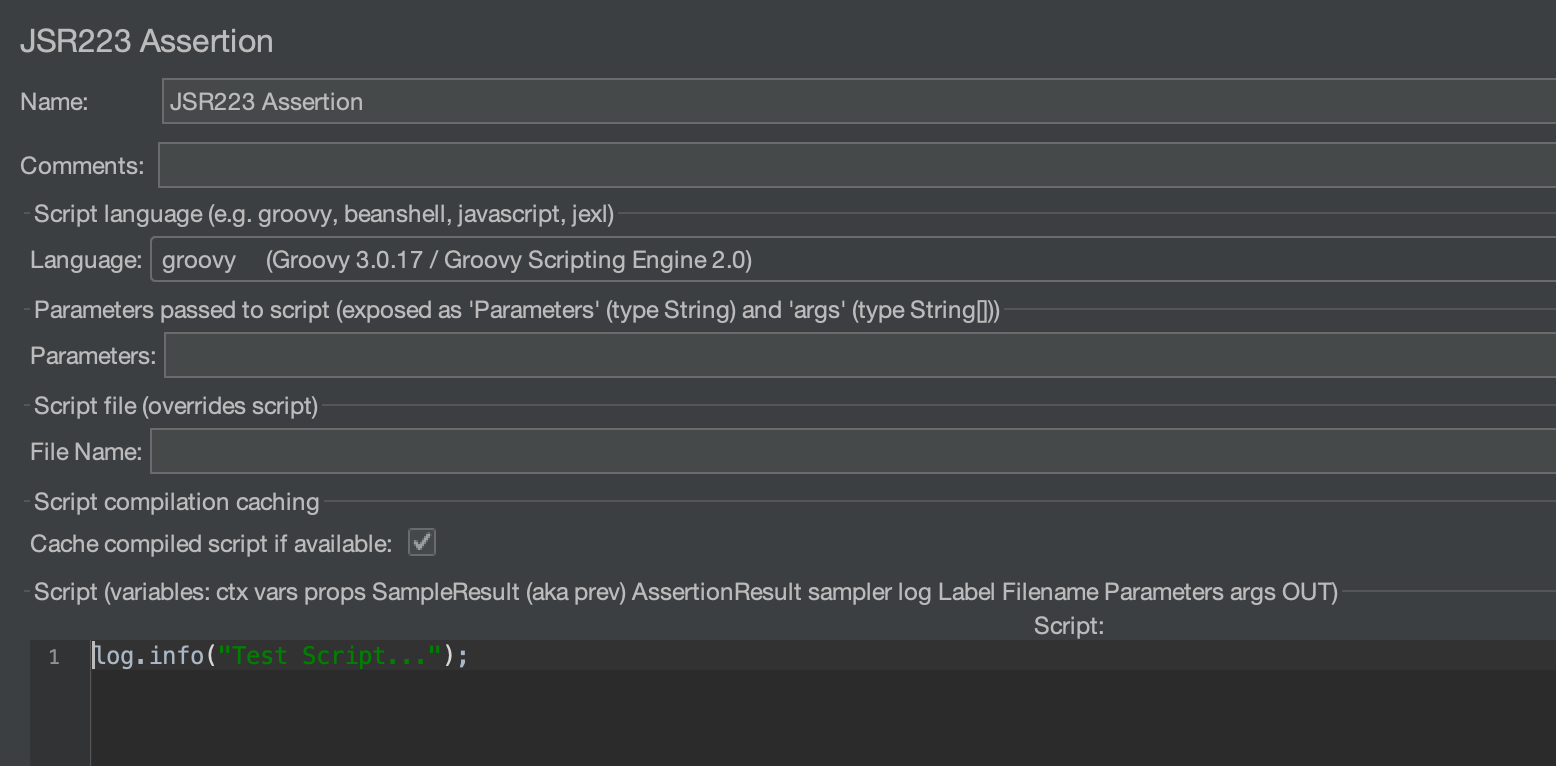
Now, run the test. You will see the below-highlighted log line in the logs, which shows that our script ran successfully.

Parameters
There is an input box labelled “Parameters” that can accept multiple space-separated values. These values can then be accessed in the script using args[0], args[1], etc.
Let’s input “codekru jmeter tutorial” in the “Parameters” box, then access it using args[0], args[1], and args[2] in the script.

We can see that the corresponding parameters are printed in the logs.
Script File
If you have a script file, you can use it instead of writing the script in the script text area. In case you have both a file and a script written in the text area, the script file will take priority.
JSR223 Assertion Example
We have earlier executed the “https://jsonplaceholder.typicode.com/posts/1” API and got the below response.
{
"userId": 1,
"id": 1,
"title": "sunt aut facere repellat provident occaecati excepturi optio reprehenderit",
"body": "quia et suscipit\nsuscipit recusandae consequuntur expedita et cum\nreprehenderit molestiae ut ut quas totam\nnostrum rerum est autem sunt rem eveniet architecto"
}
Let’s check if the keyword “codekru” exists in the “title”. If it does not, we will fail the assertion.
We will first parse the JSON response and then fetch the value of the “title” key
import net.minidev.json.JSONObject;
import net.minidev.json.JSONValue;

// Get the response body
String responseBody = new String(prev.getResponseData());

// Parse the JSON response
JSONObject jsonResponse = (JSONObject) JSONValue.parse(responseBody);

// Get title
String title = jsonResponse.get("title").toString();
And then, we will put the “if” condition to check whether “codekru” exists in the “title”, and if not, then will fail the assertion
if(!title.contains("codekru")){
	 AssertionResult.setFailure(true) // Mark the assertion as failed
    AssertionResult.setFailureMessage("'codekru' not found in 'title'.") // Provide a failure message
} else {
    AssertionResult.setFailure(false) // Mark the assertion as passed
}
Here is the whole code, which is to be put in the “Script” text area of JSR223 Assertion.
import net.minidev.json.JSONObject;
import net.minidev.json.JSONValue;

// Get the response body
String responseBody = new String(prev.getResponseData());

// Parse the JSON response
JSONObject jsonResponse = (JSONObject) JSONValue.parse(responseBody);

// Get title
String title = jsonResponse.get("title").toString();

if(!title.contains("codekru")){
	 AssertionResult.setFailure(true) // Mark the assertion as failed
    AssertionResult.setFailureMessage("'codekru' not found in 'title'.") // Provide a failure message
} else {
    AssertionResult.setFailure(false) // Mark the assertion as passed
}
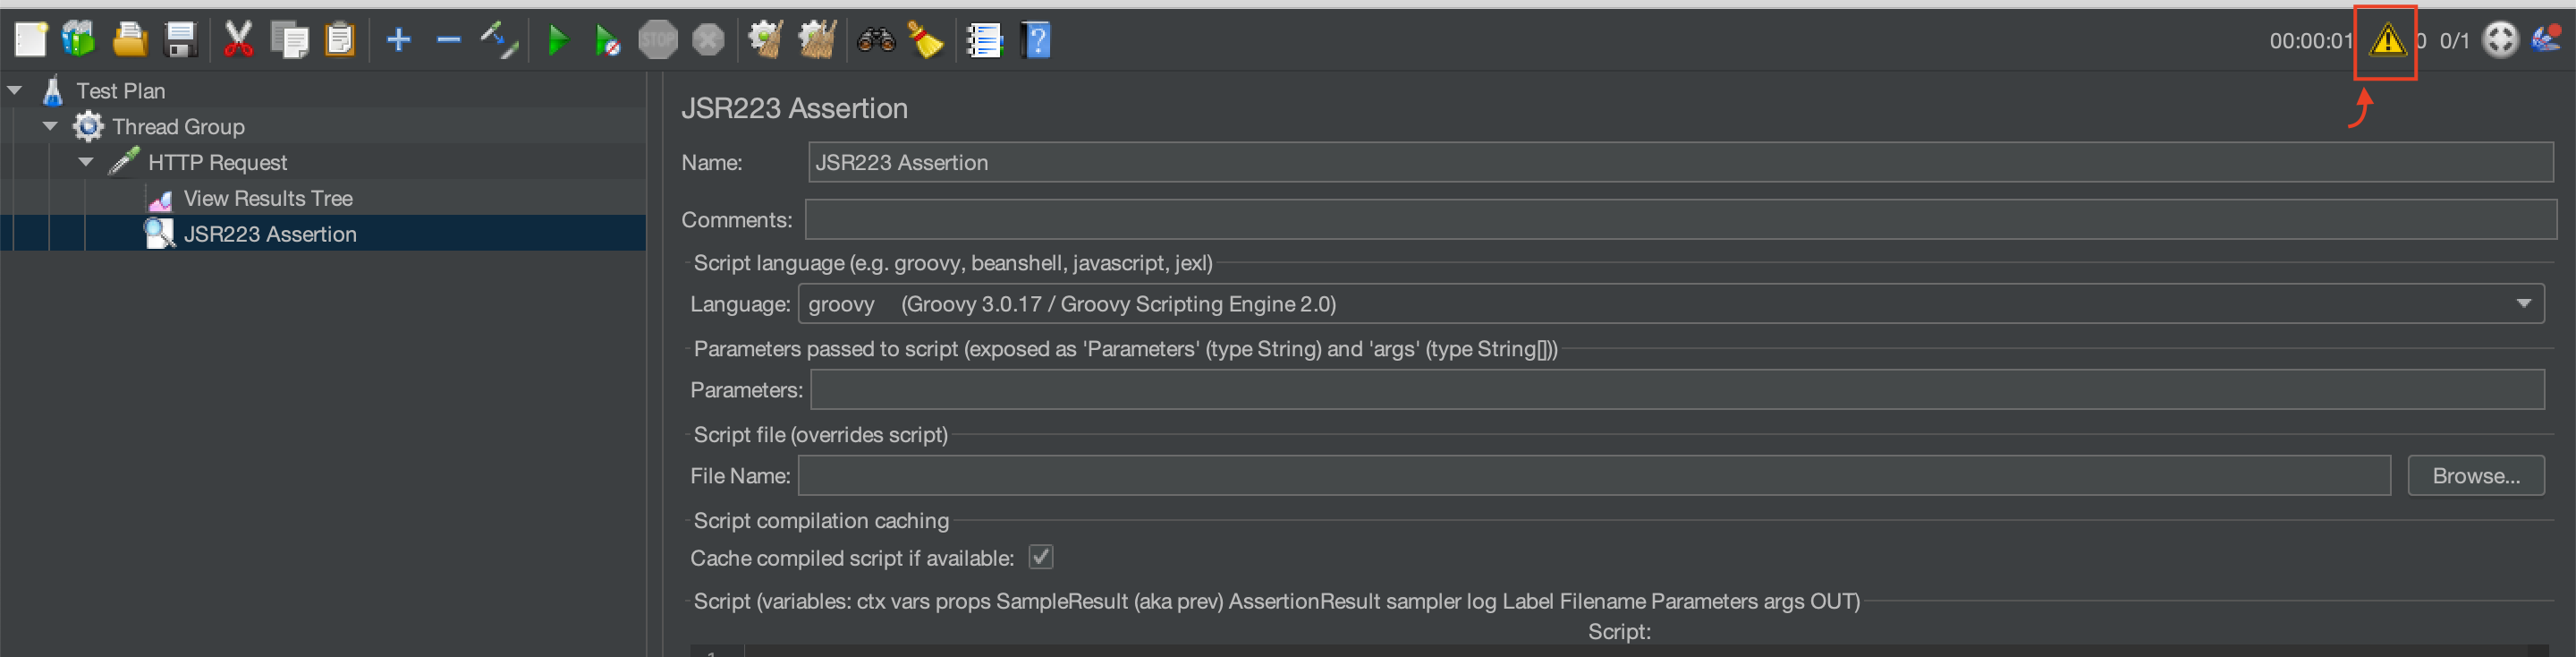
After running the test again, the “View Results Tree” displays a failure message stating that “‘codekru’ was not found in ‘title’.”

We hope that you have liked the article. If you have any doubts or concerns, please write to us in the comments or mail us at admin@codekru.com